Install MySQL Client
Để có thể kết nối được với Database Server đang chạy ở trong Database Host thì Application Host cần có MySQL Client. Tiến hành tải MySQL Client.
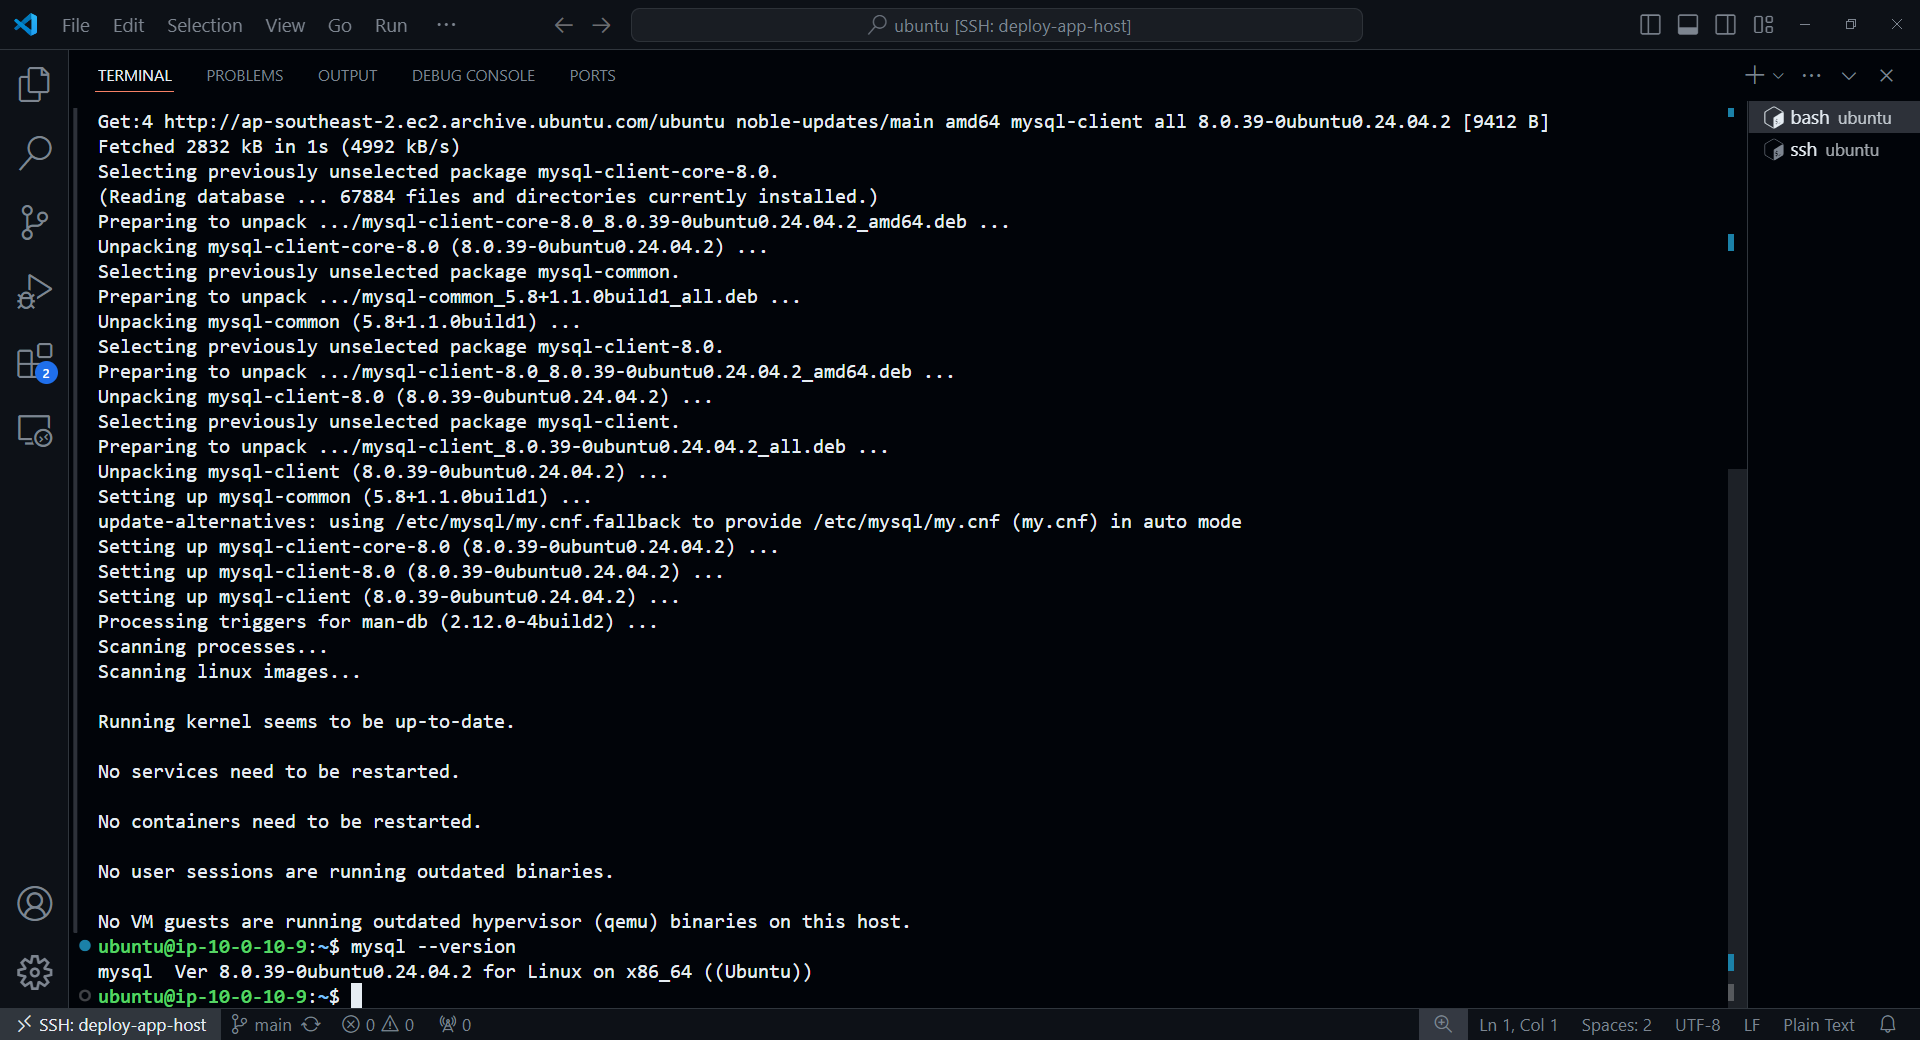
sudo apt update
sudo apt install mysql-client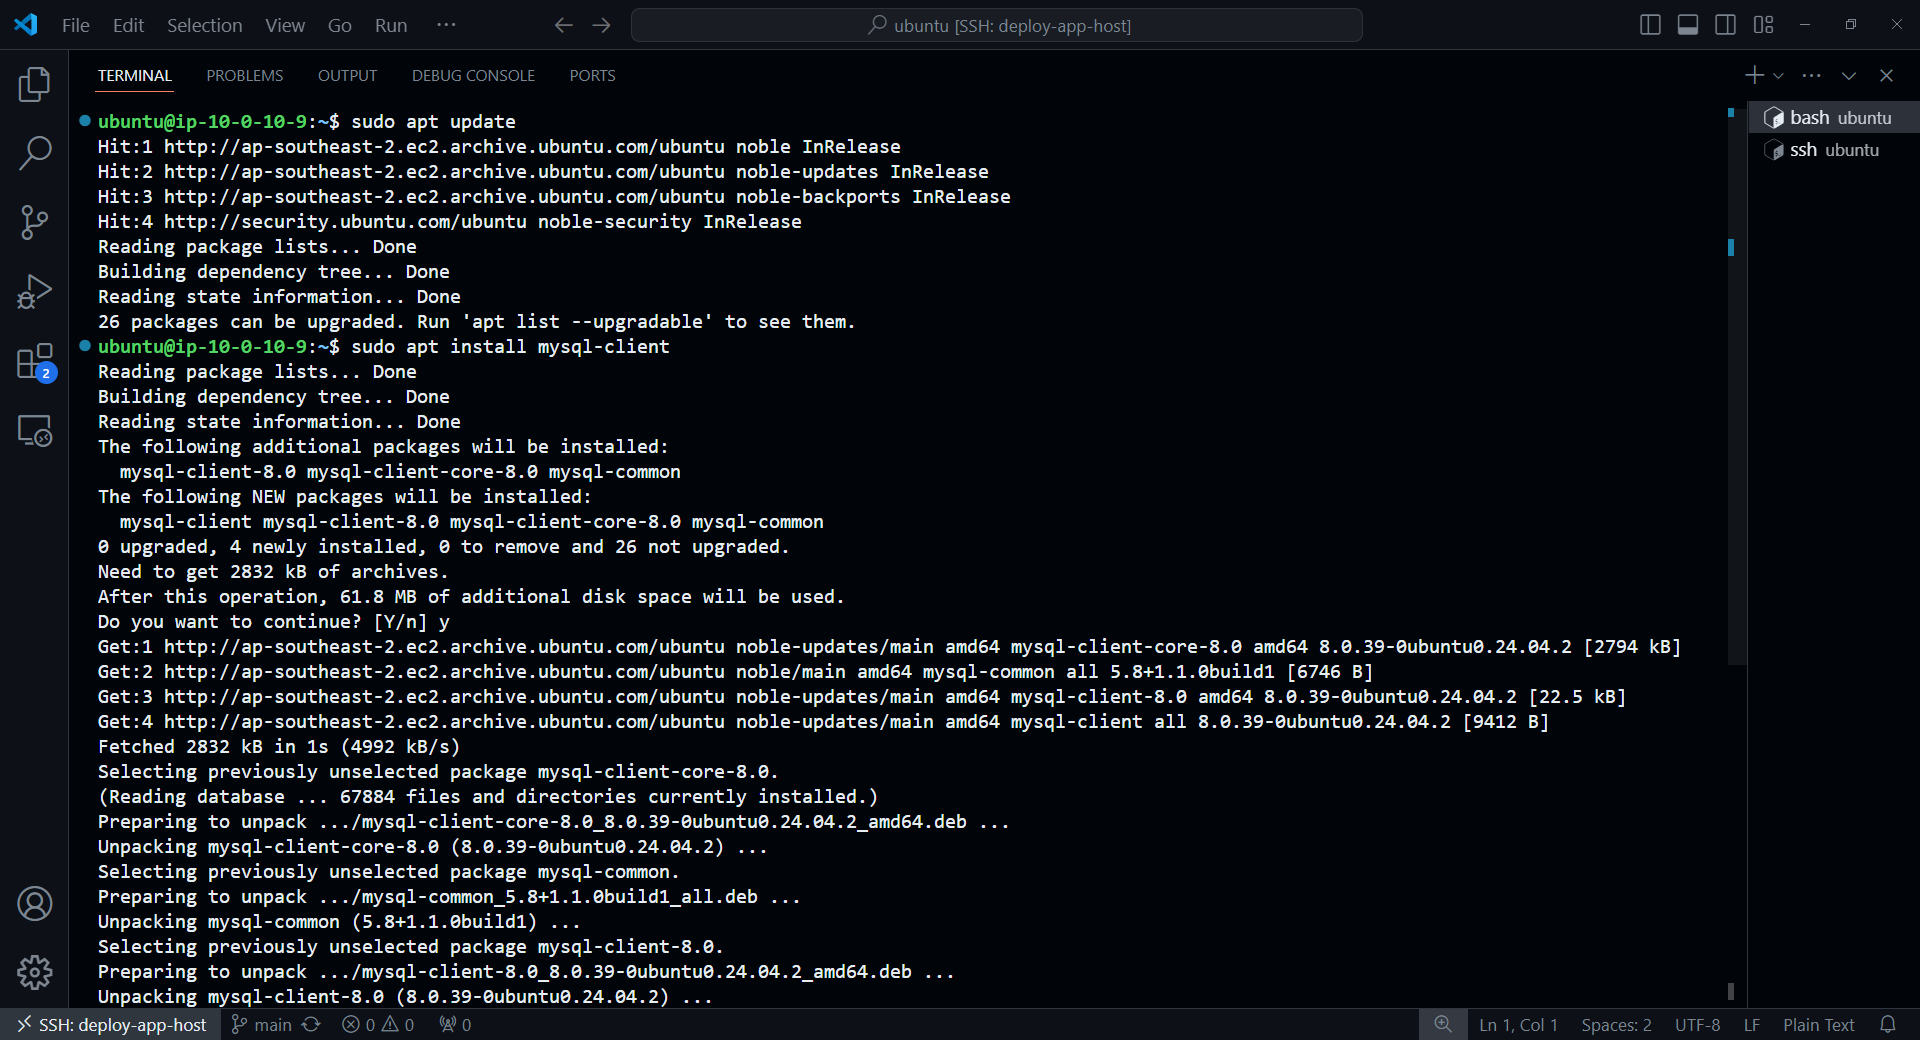
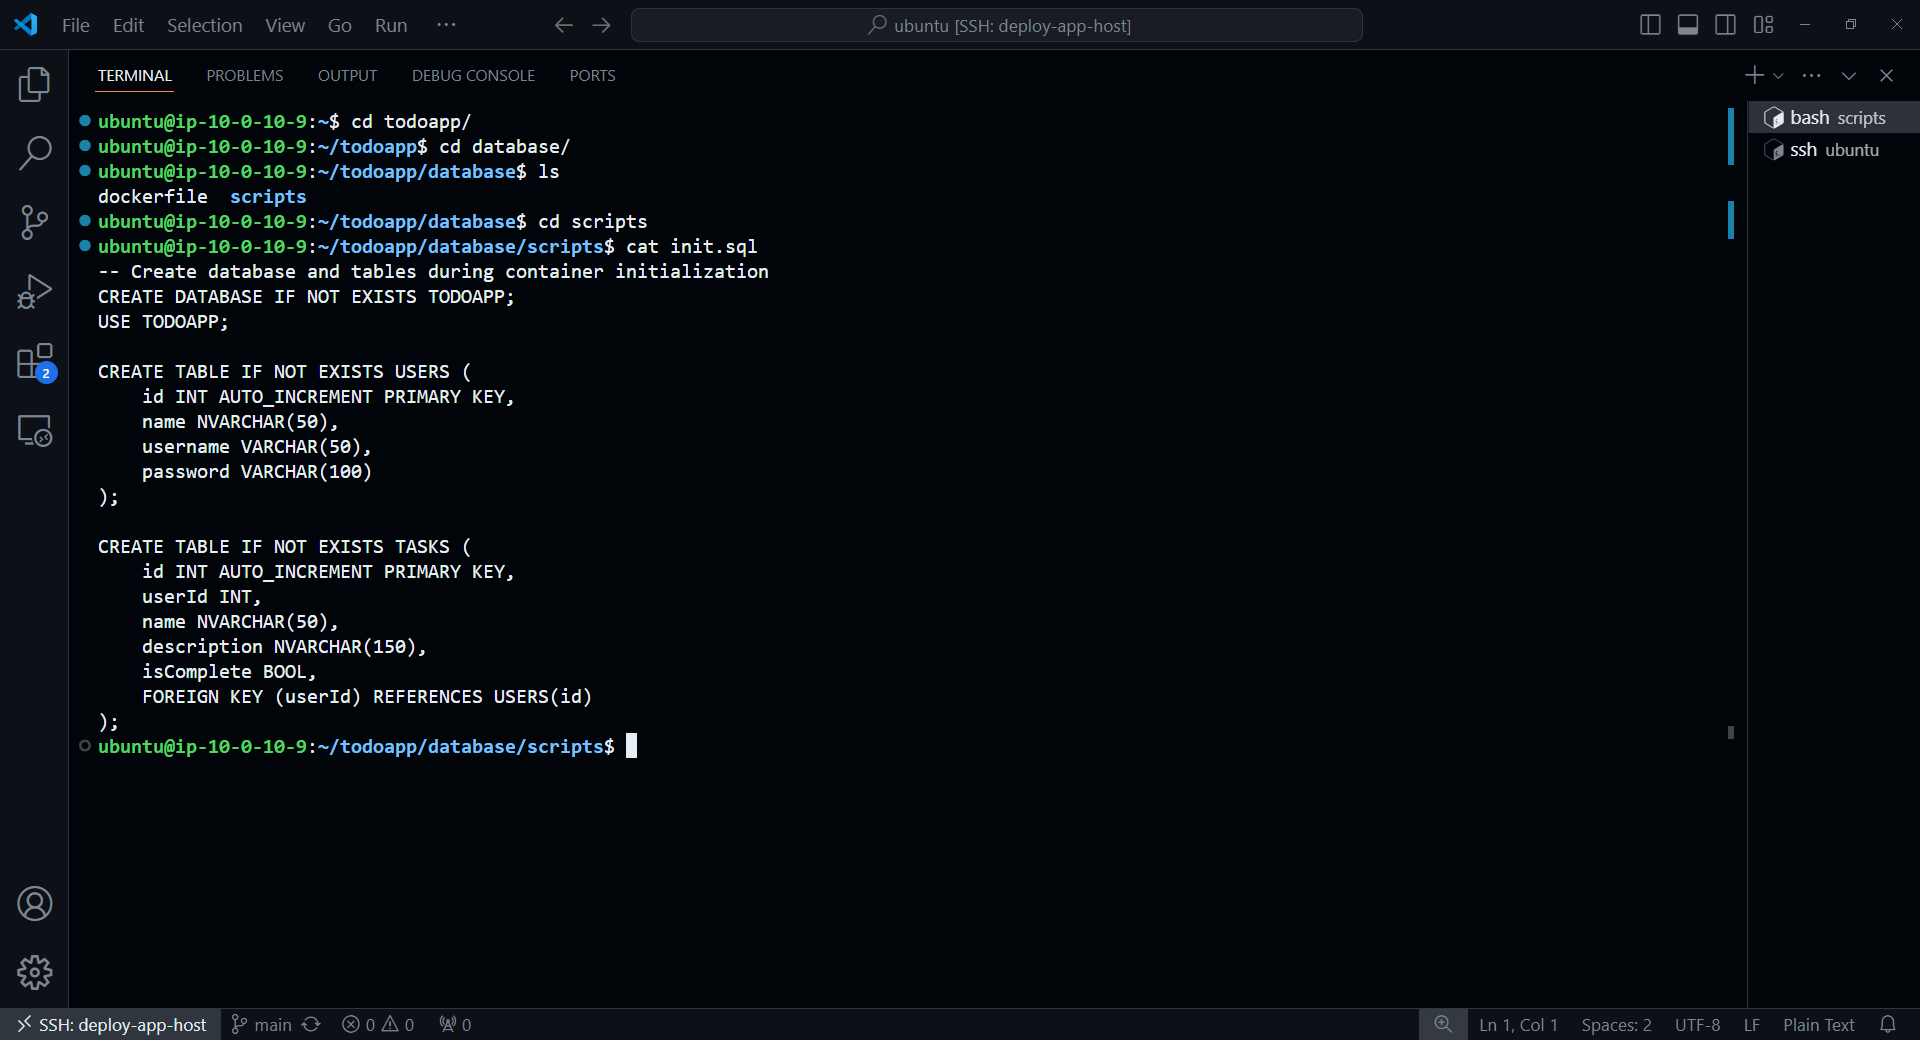
Configure Database
Ở trong phần này thì mình sẽ phải tạo Database, Table để ứng dụng có thể chạy được. Vào trong thư mục todoapp/database/scripts để xem script cài đặt database, tables
cd todoapp/database/scripts
cat init.sql
Nội dung của file init.sql như sau
Lưu lại đường dẫn của script này
echo $PWD/init.sql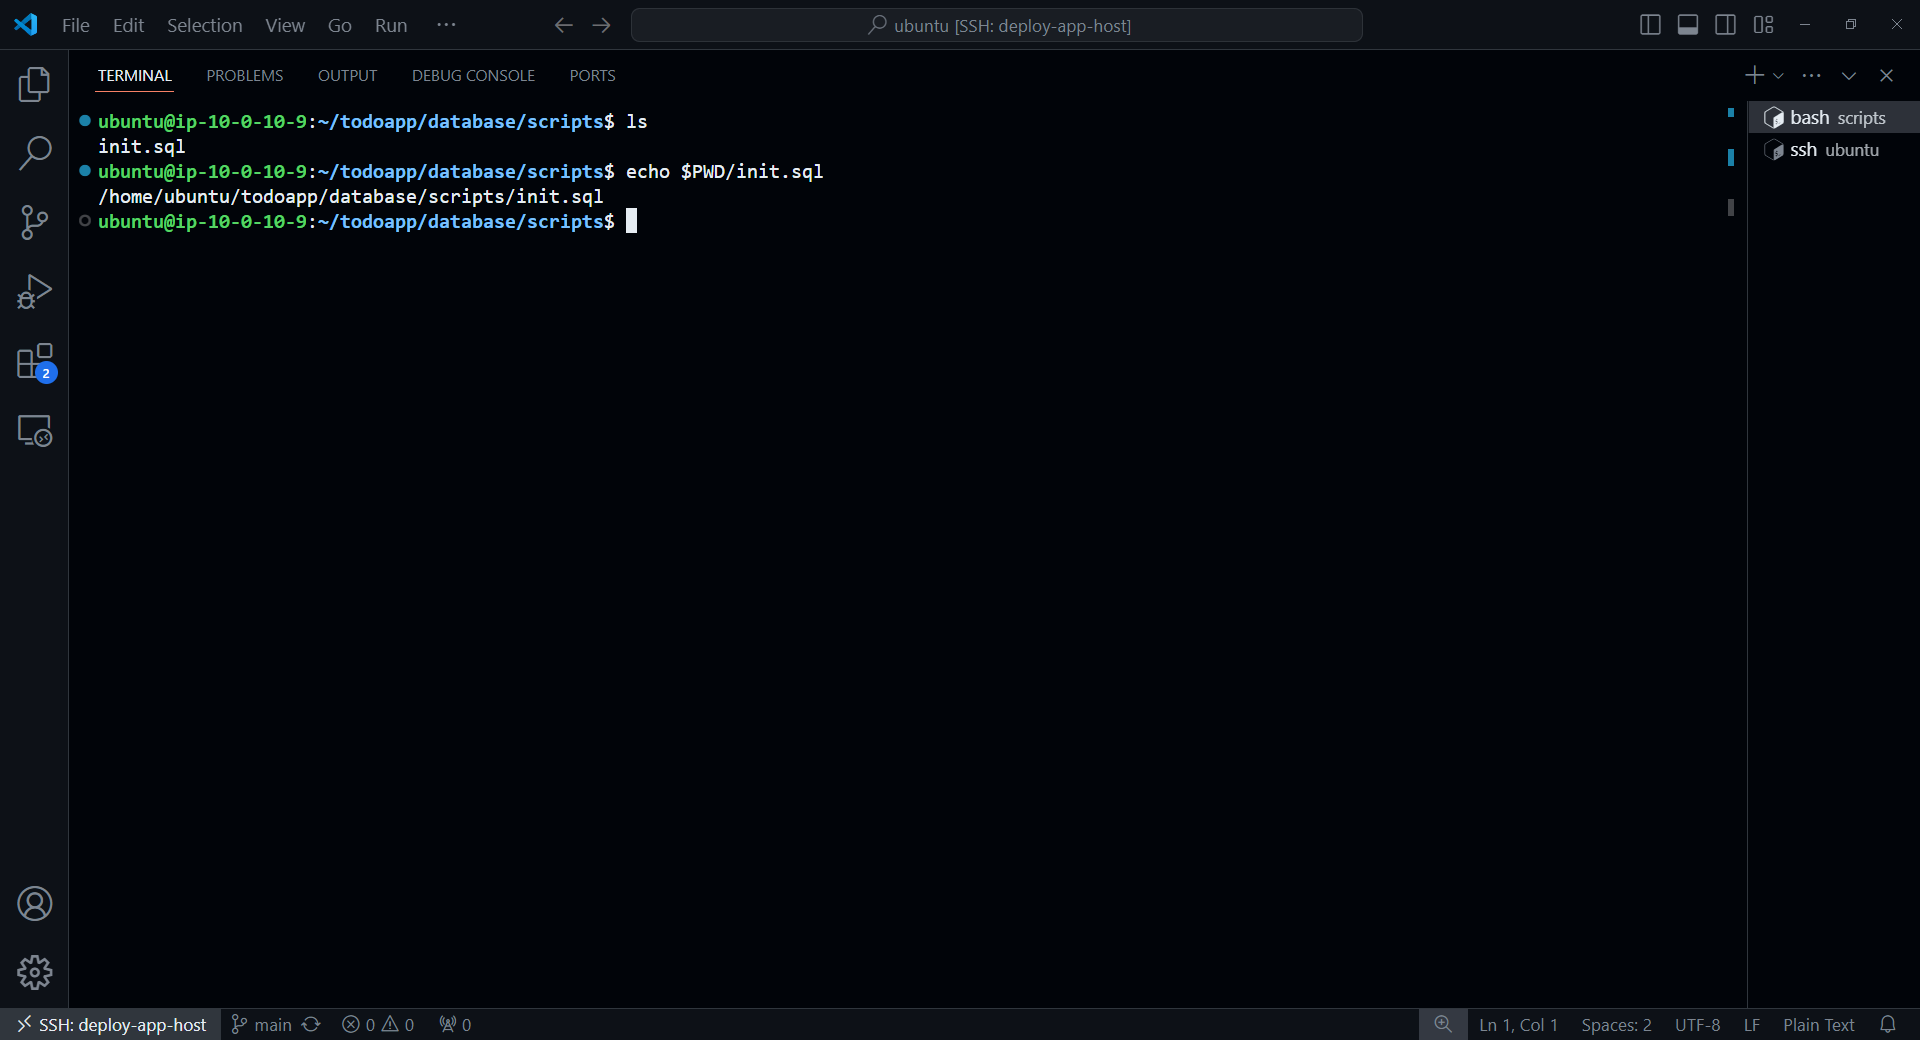
Dùng lệnh bên dưới để kết nối MySQL Server
mysql -h "database-host-private-ipv4" -u admin -p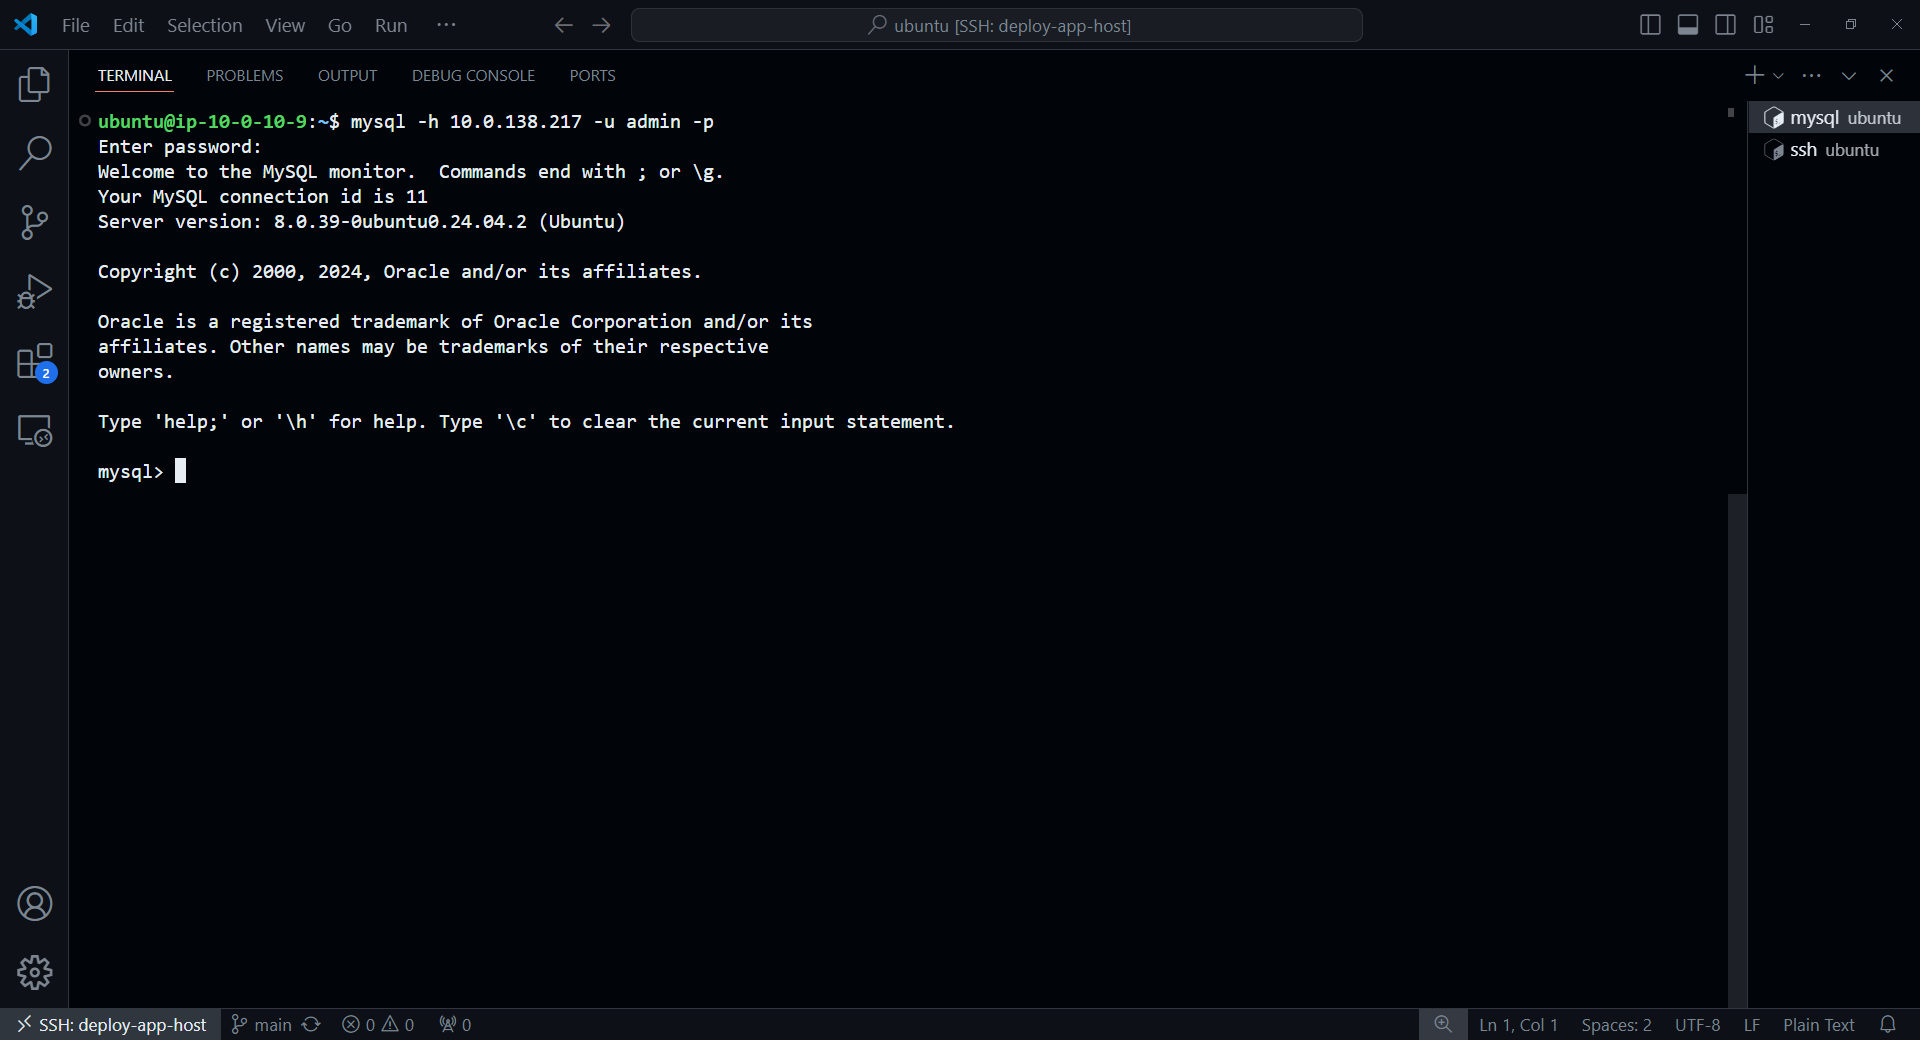
Ok, đã kết nối thành công.
Giờ thì chúng ta sẽ dùng script để khởi tạo database, tables. Dùng lại đường dẫn tới init.sql mà mình đã tạo trước đó.
source "path-to-init.sql"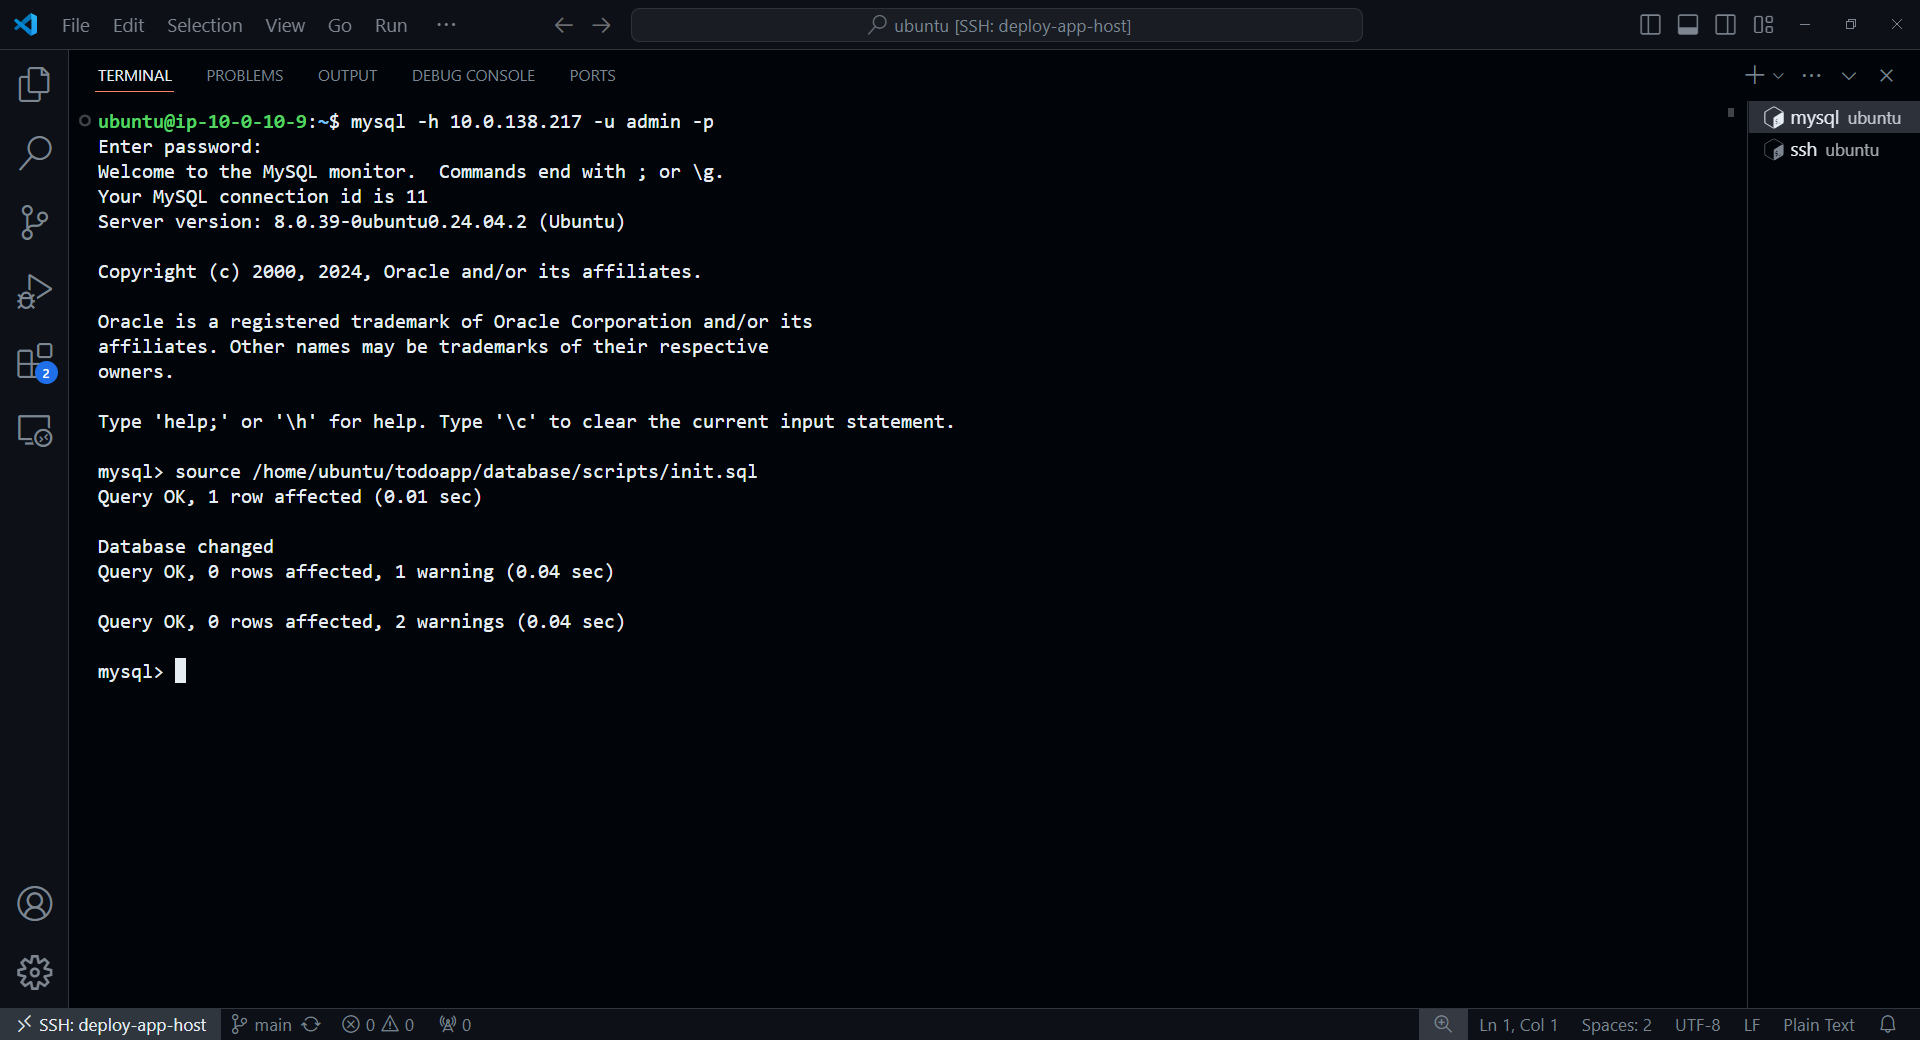
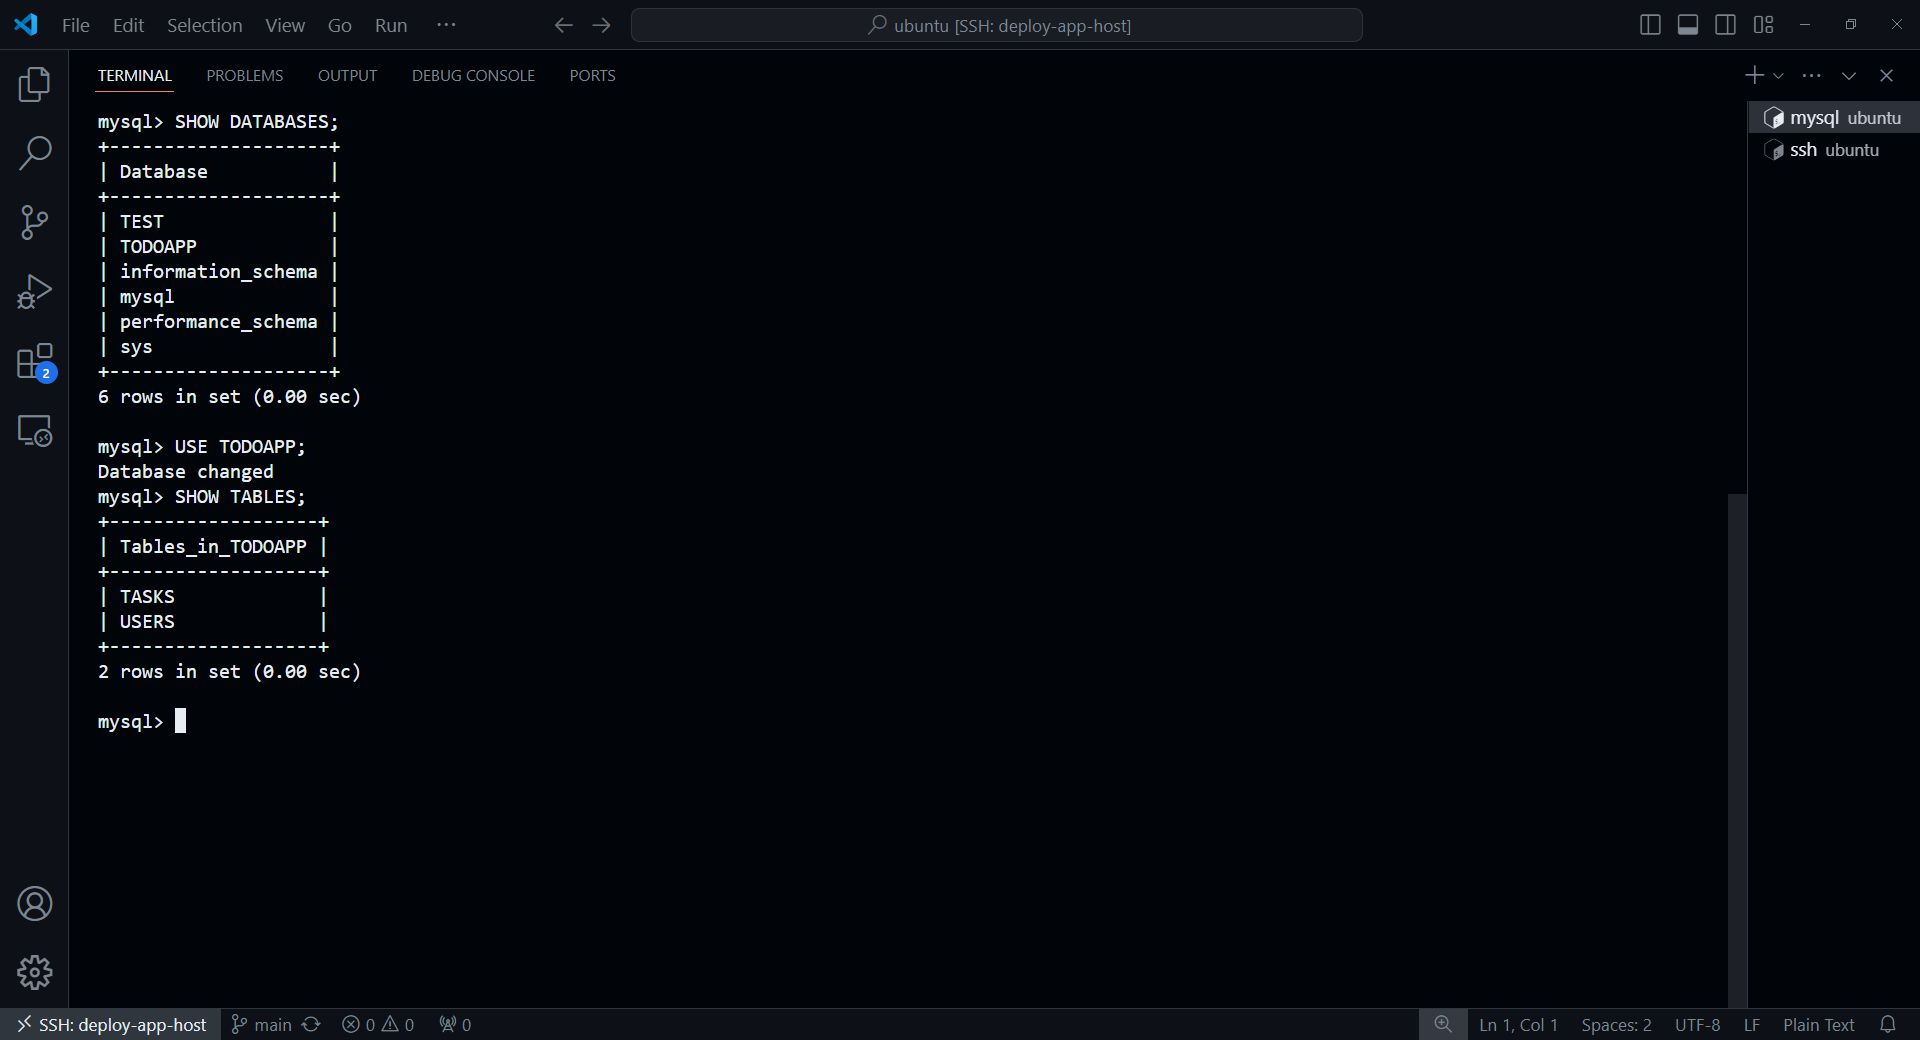
Ok, như vậy thì chúng ta đã setup xong Database cho ứng dụng, ở phần sau thì chúng ta sẽ tiến hành triển khai ứng dụng NodeJS.