Note
Trong phần này thì chúng ta sẽ dùng VSCode để có thể quản lý việc kết nối SSH vào EC2
Setup Ownership and Permissions of Key Pair
Ở trên Linux thì chúng ta có thể làm việc này dễ dàng hơn nhiều, nhưng trên windows thì phải làm khác đi một xíu.
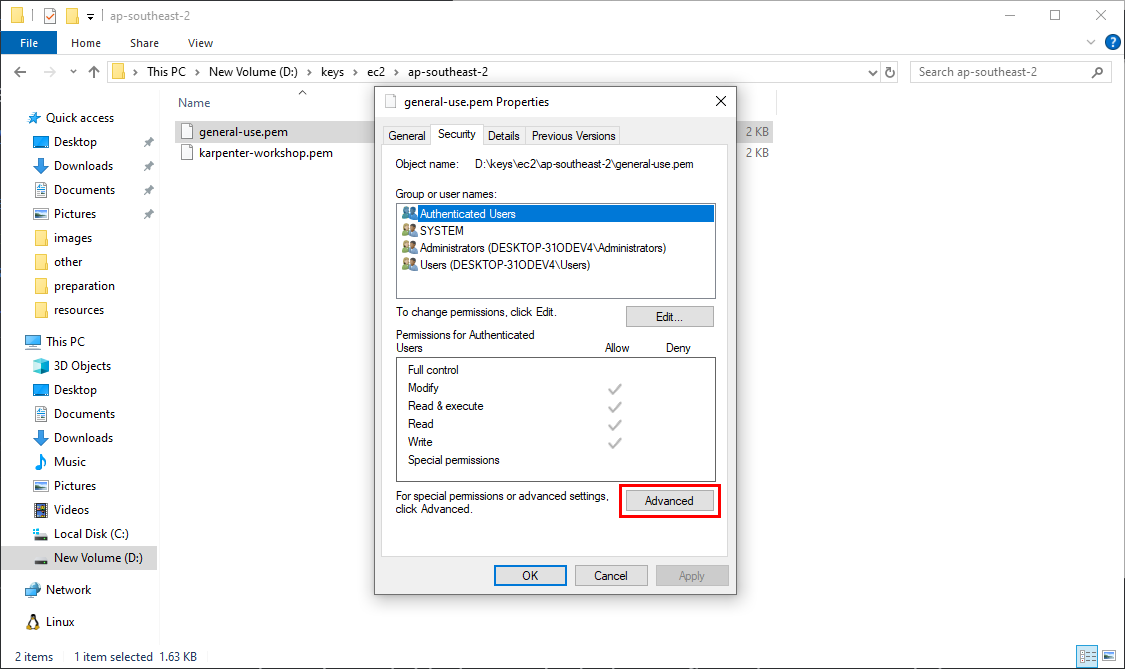
- Click chuột phải vài file key pair đã tải ở bước trước.
- Chọn Properties ở cuối cùng.
- Sang tab Security
- Chọn Advanced
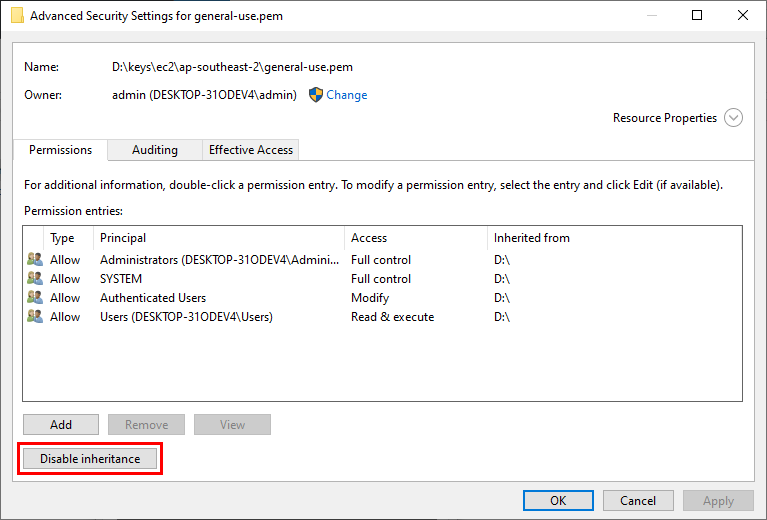
Cửa sổ Advanced hiện lên, ấn Disable inheritance để tắt kế thừa các user ở trong máy đi
Sau đó là remove hết các Permissions entries
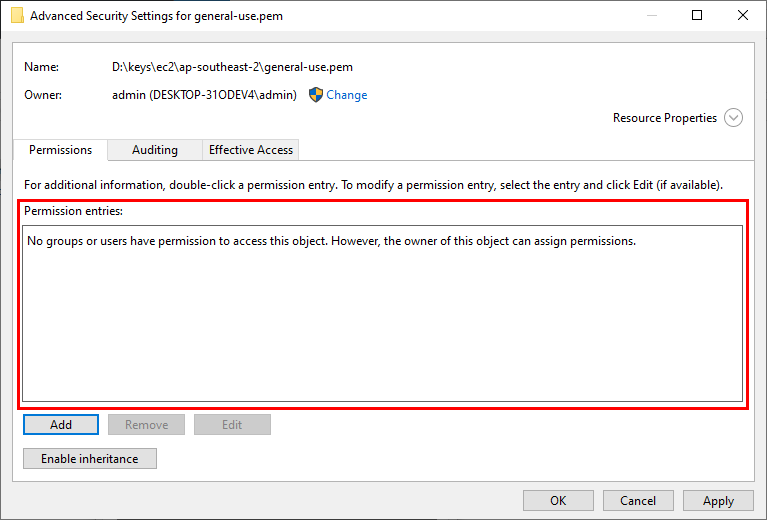
Tạo permission entries mới
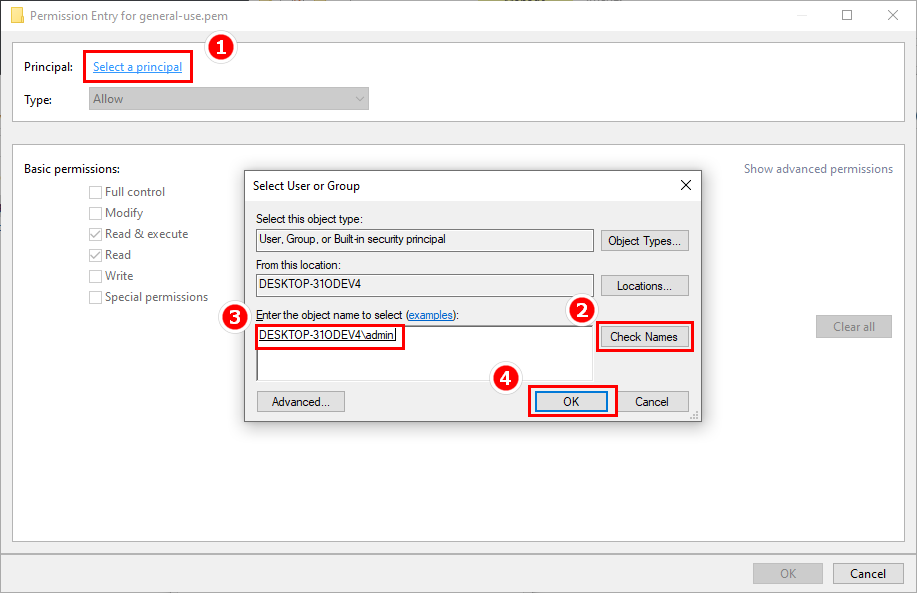
- Chọn Select a principal
- Trong ô Enter the object name to select, gõ
admin(Này tuỳ vào máy của bạn, còn đây là username của mình trên windows) - Ấn Check name và tên đúng của principal hiện ra.
- Ấn Ok
Cuối cùng là cấp permissions, ở đây thì chúng ta sẽ tích hết (Full control) và ấn Ok.
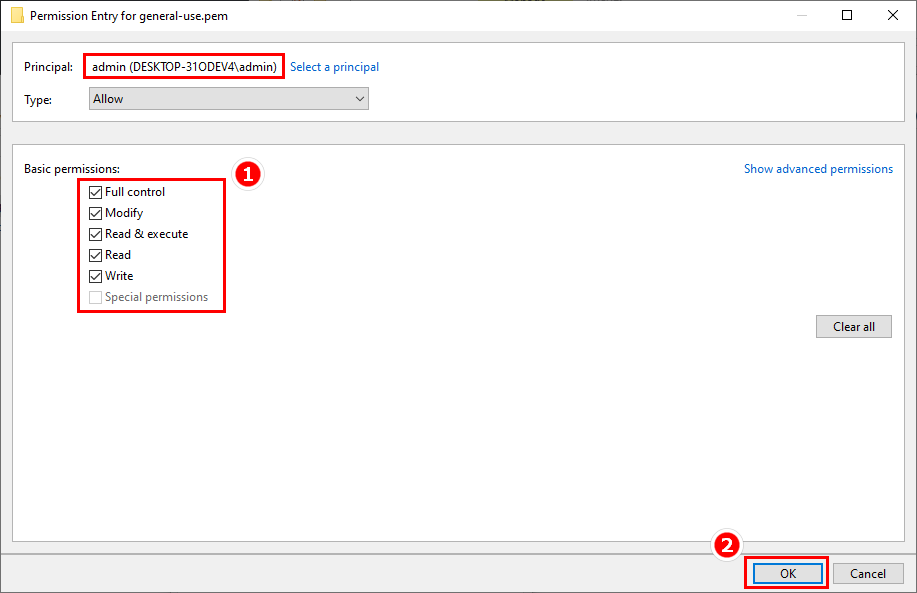
Nhớ lưu lại các thay đổi!!
Setup in VSCode
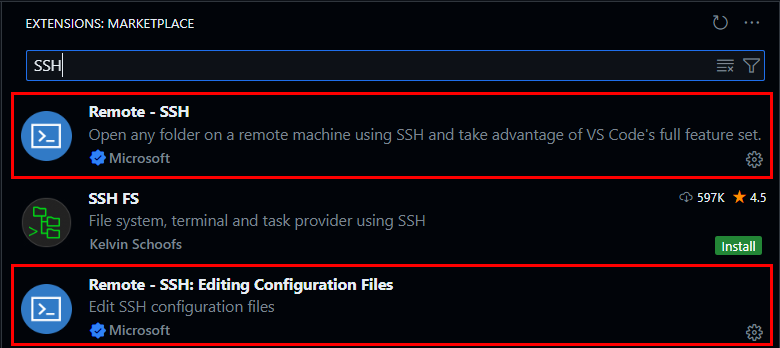
Đầu tiên, thì chúng ta phải cài đặt 2 Extensions sau
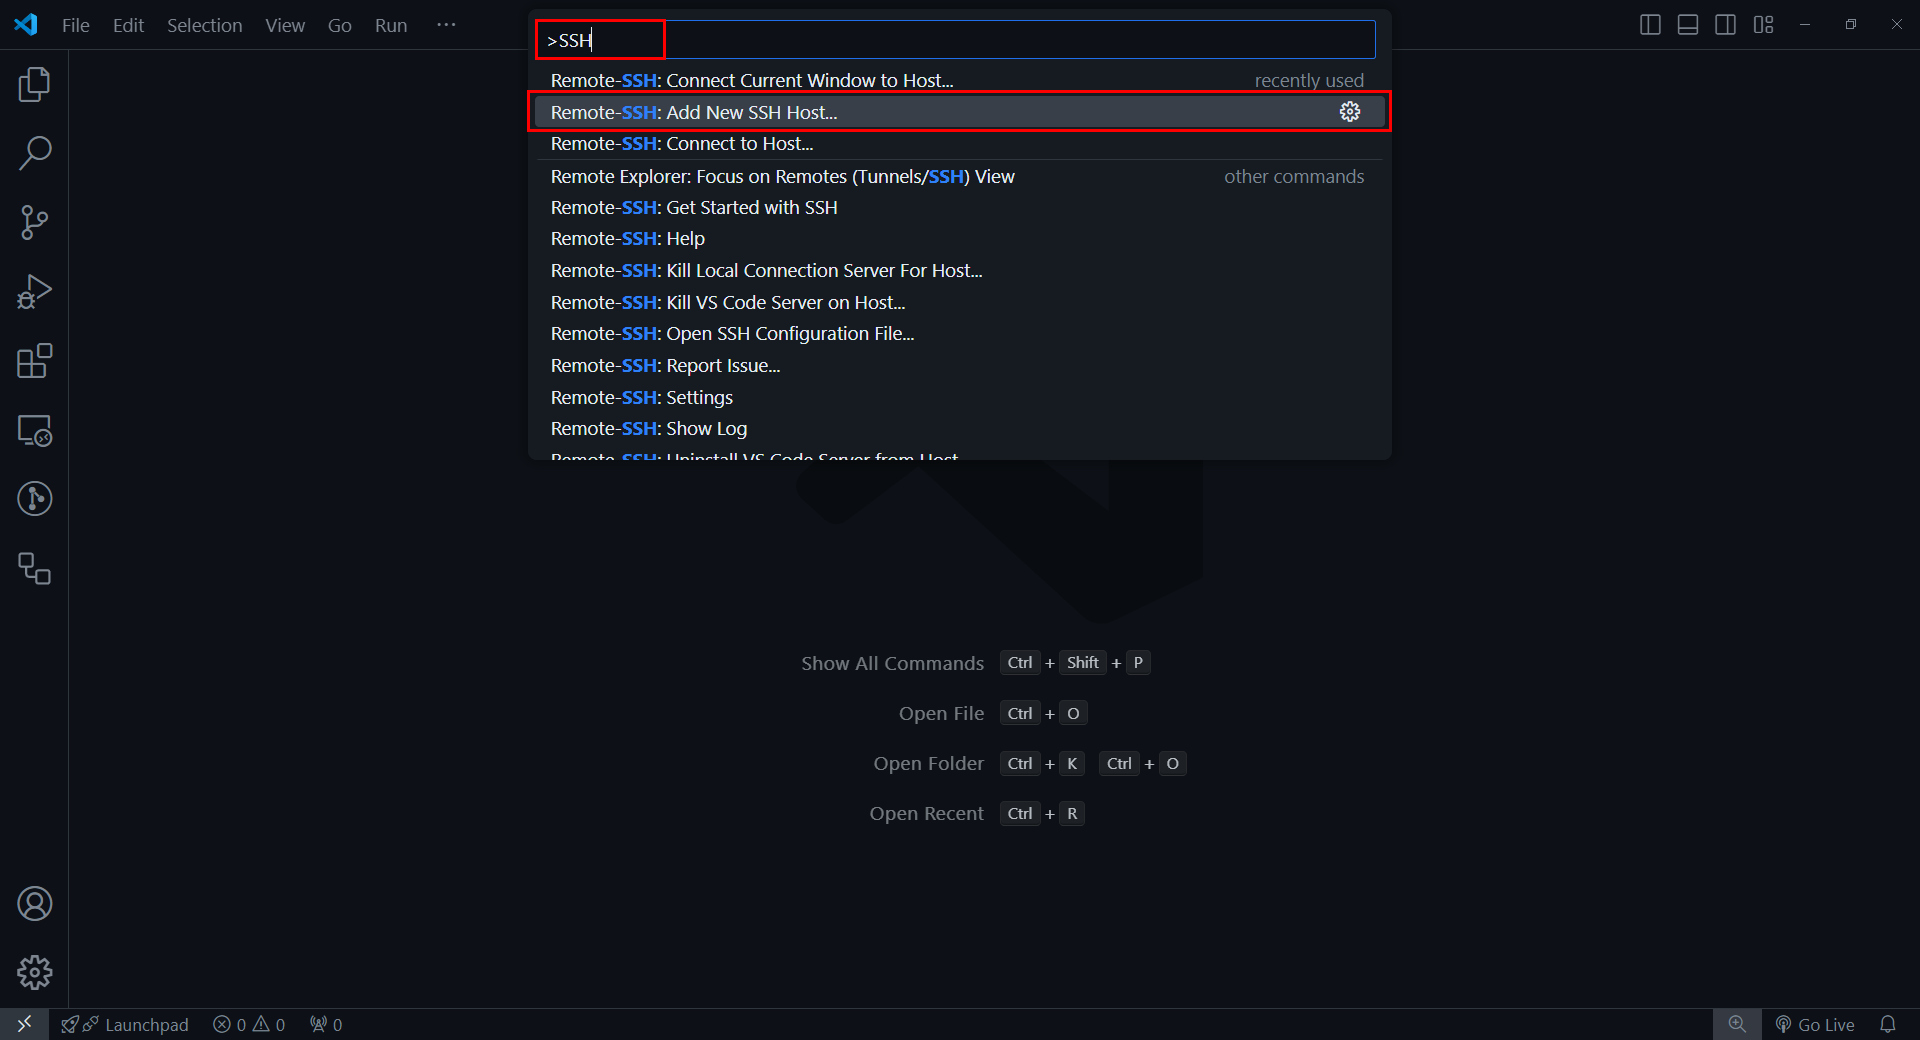
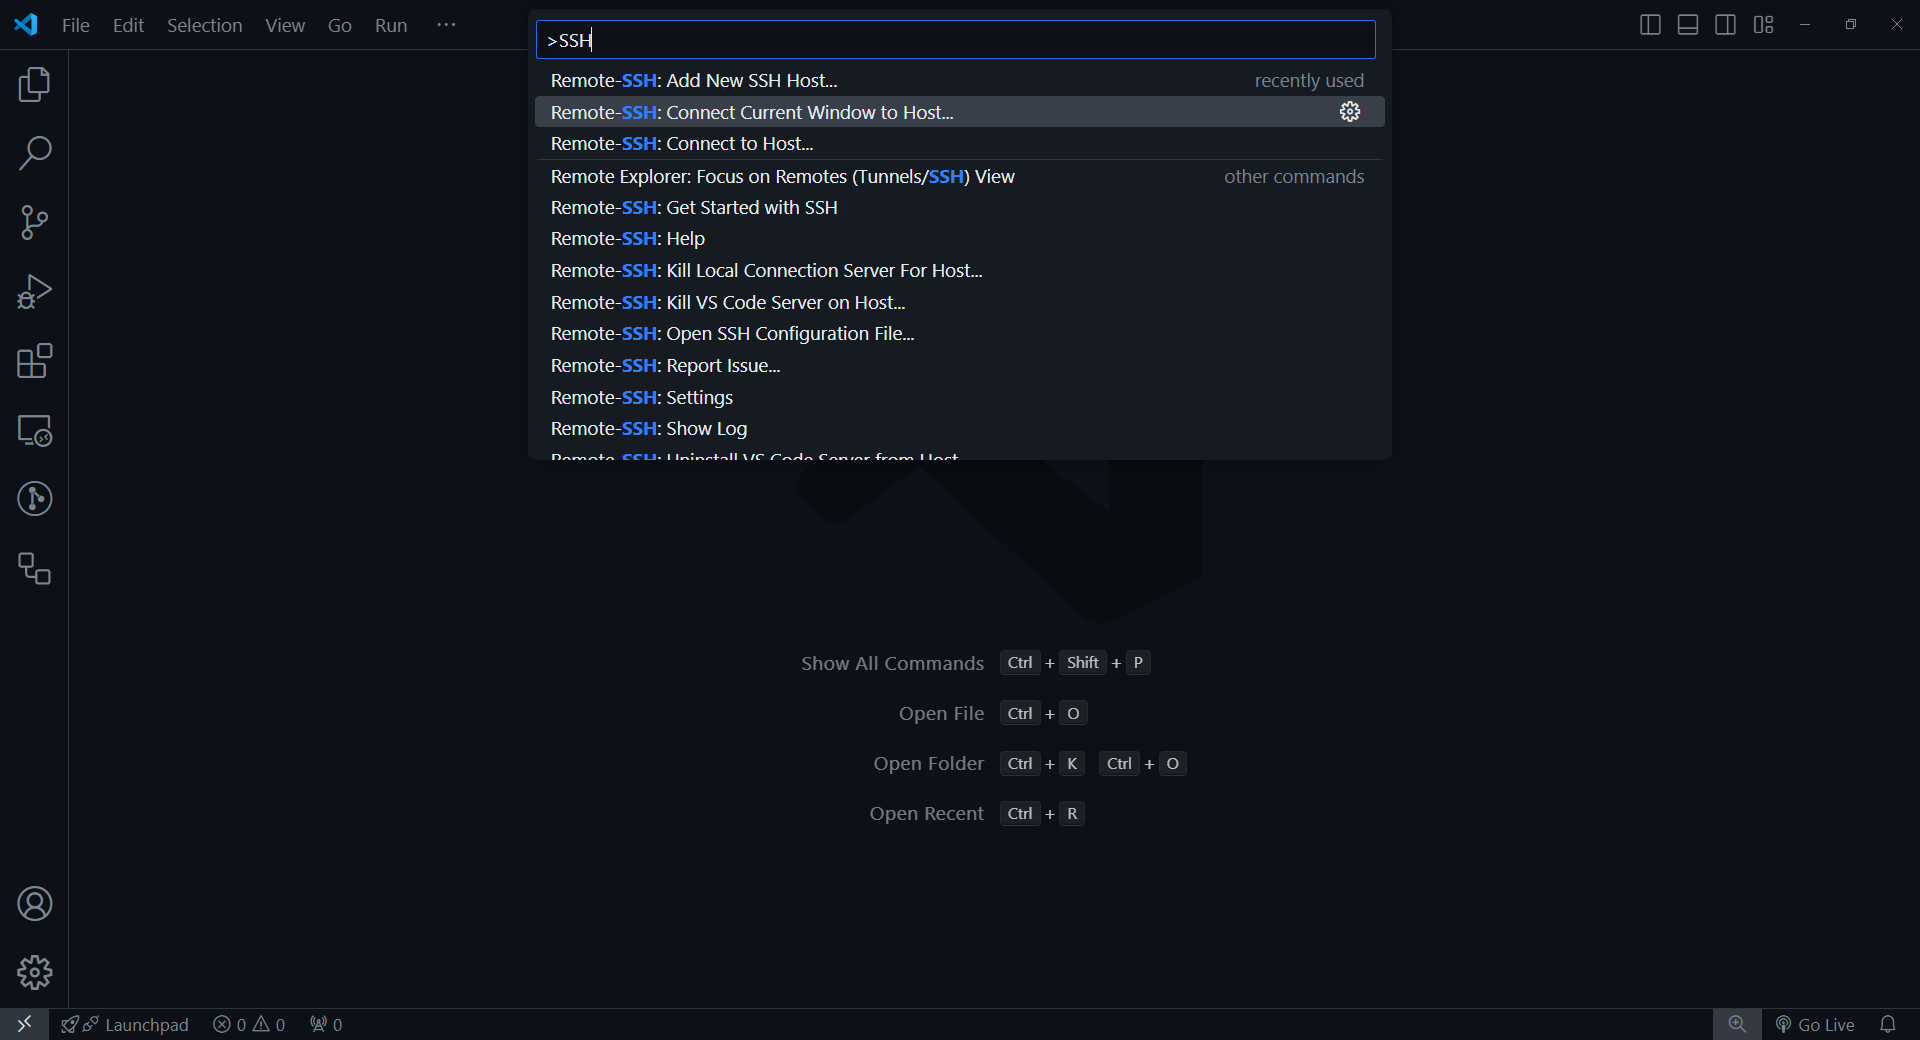
Dùng tổ hợp phím Ctrl + Shift + P để mở Command Palette
- Nhập
>SSH - Chọn Remote-SSH: Add New SSH Host…
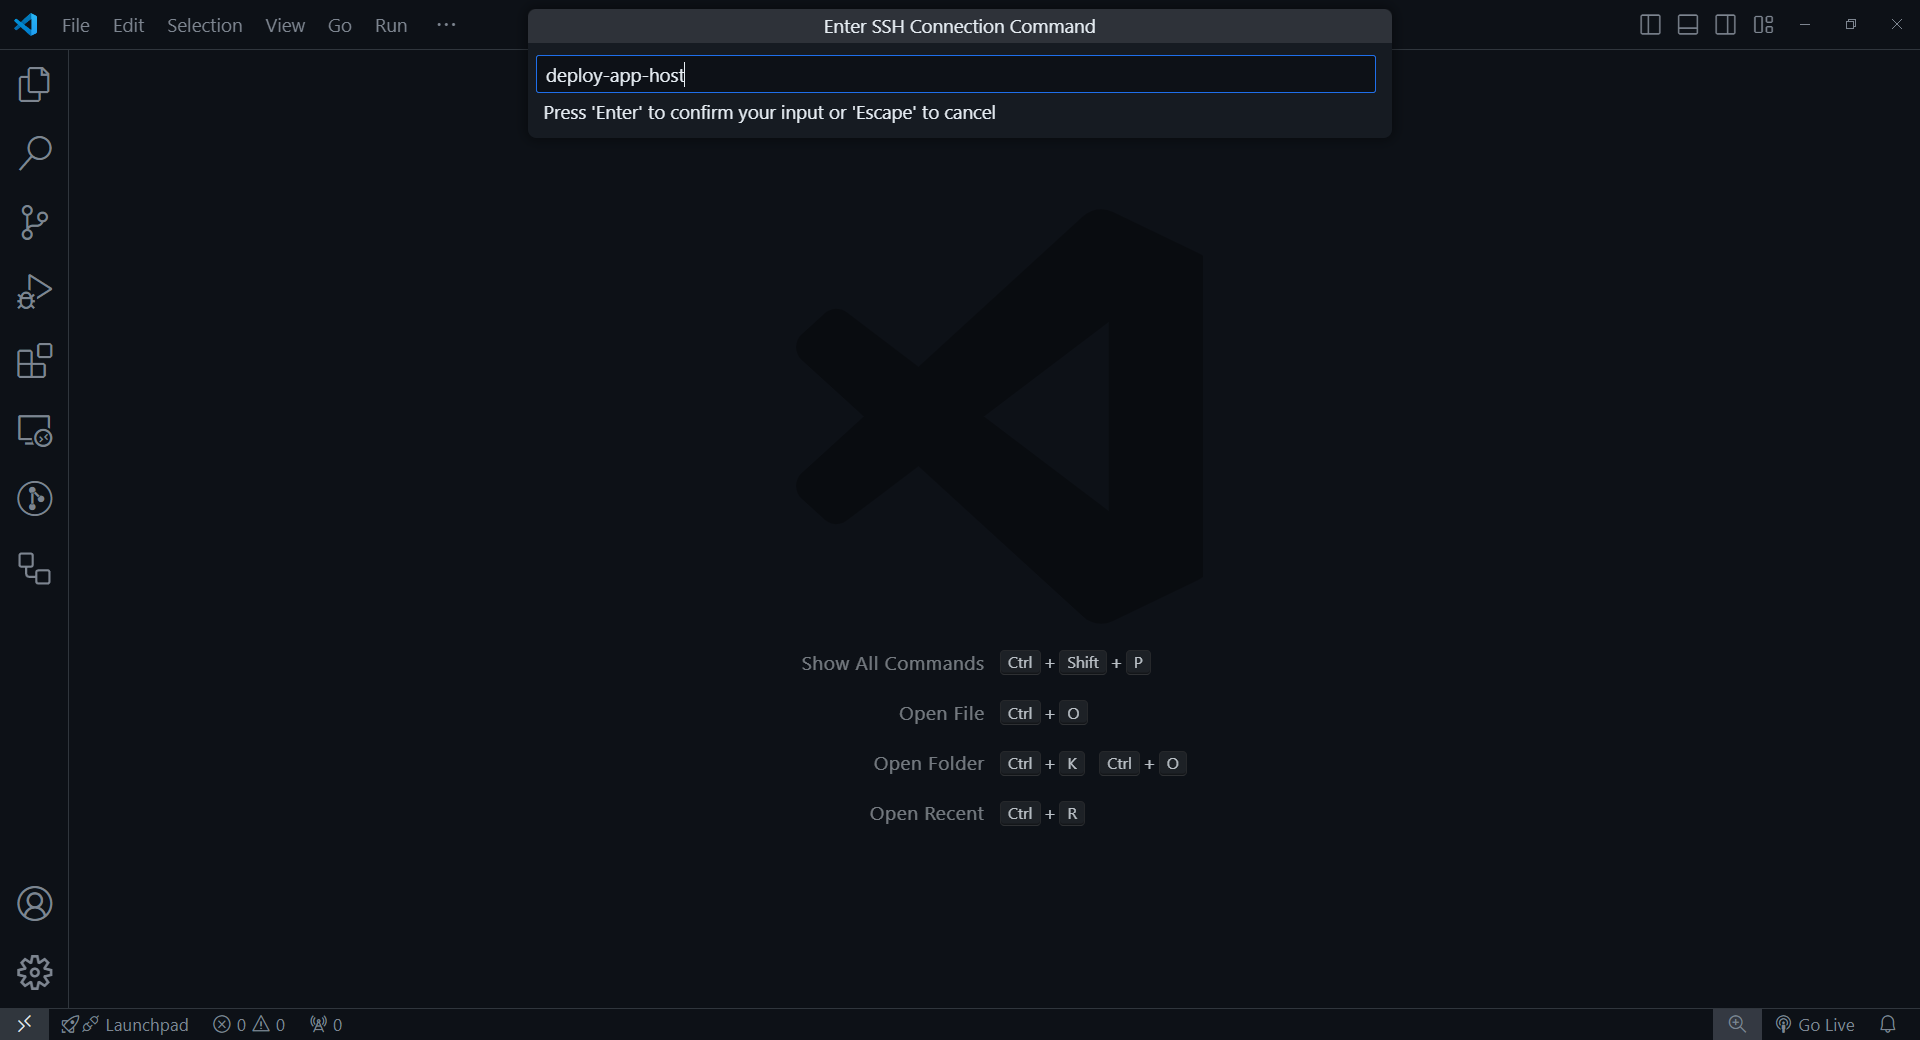
Nhập deploy-app-host, giống như tên của EC2 Instance
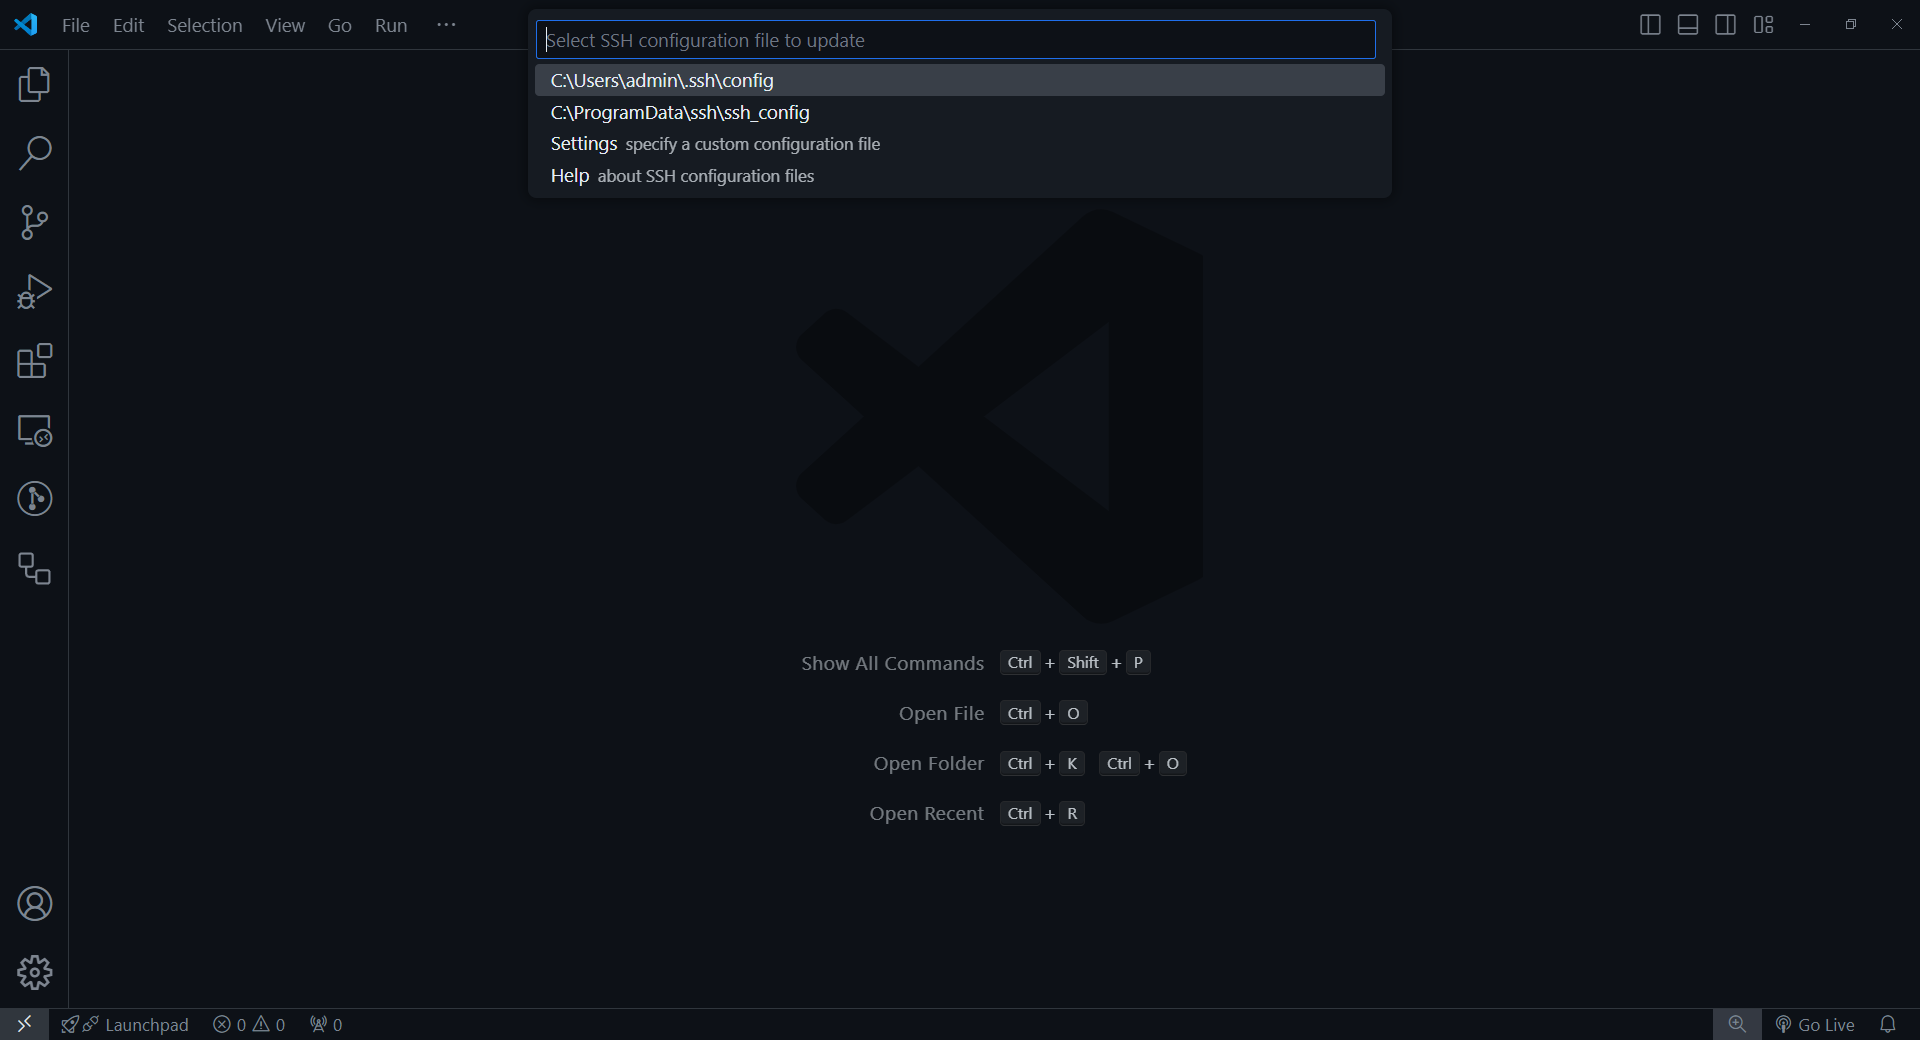
Chọn /.ssh/config
Một thông báo sẽ hiện tên, ấn Open config
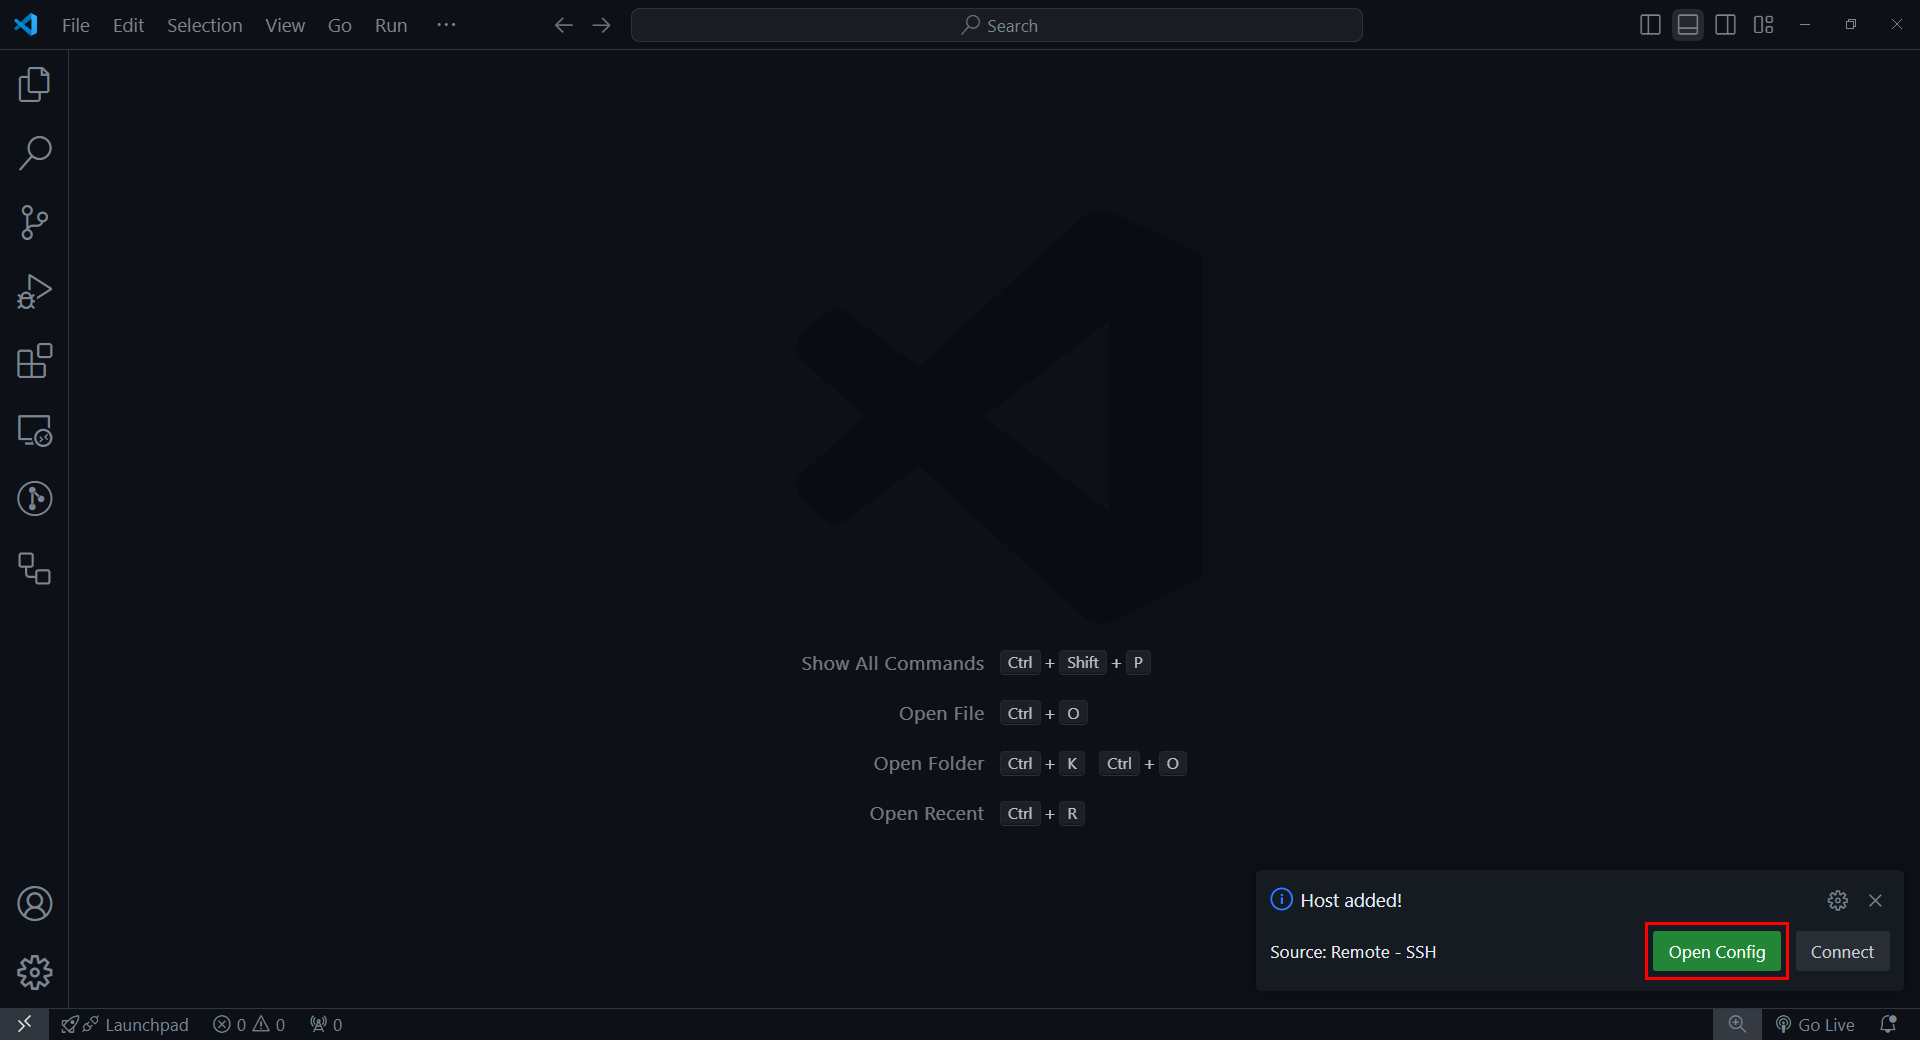
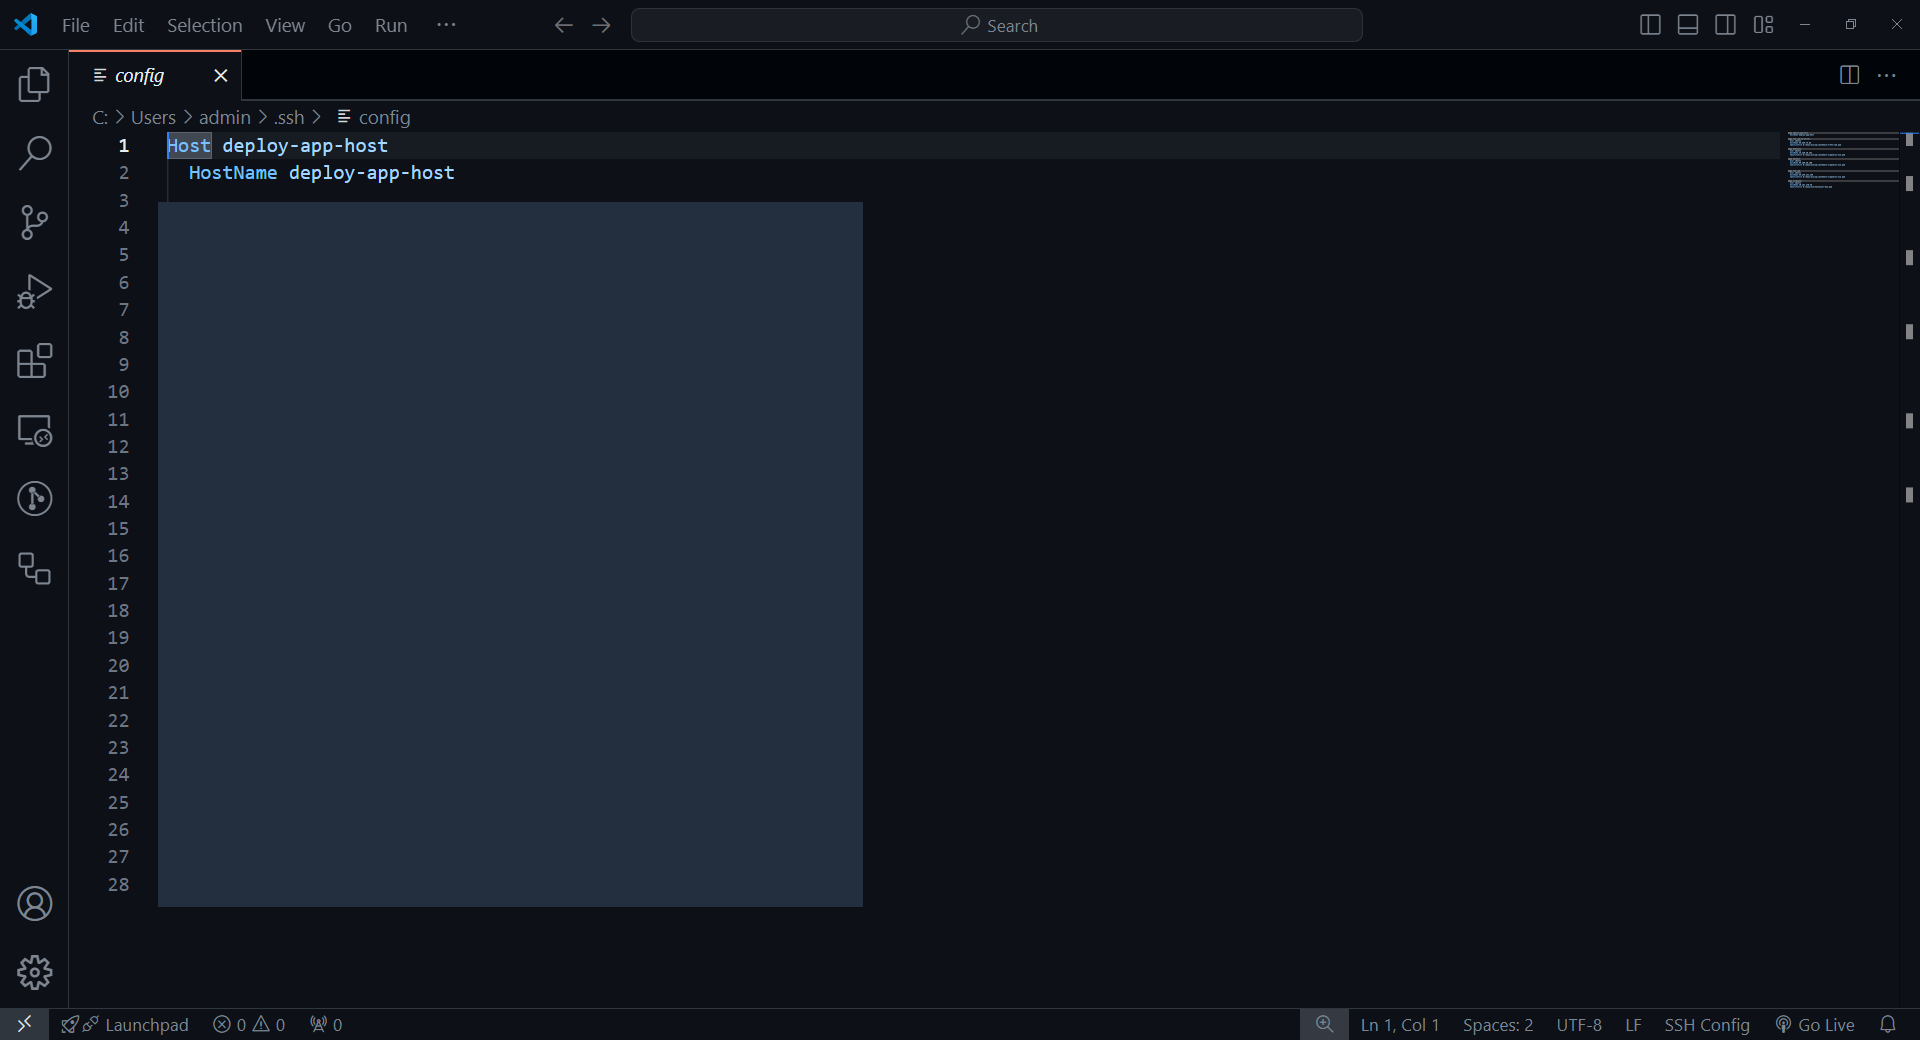
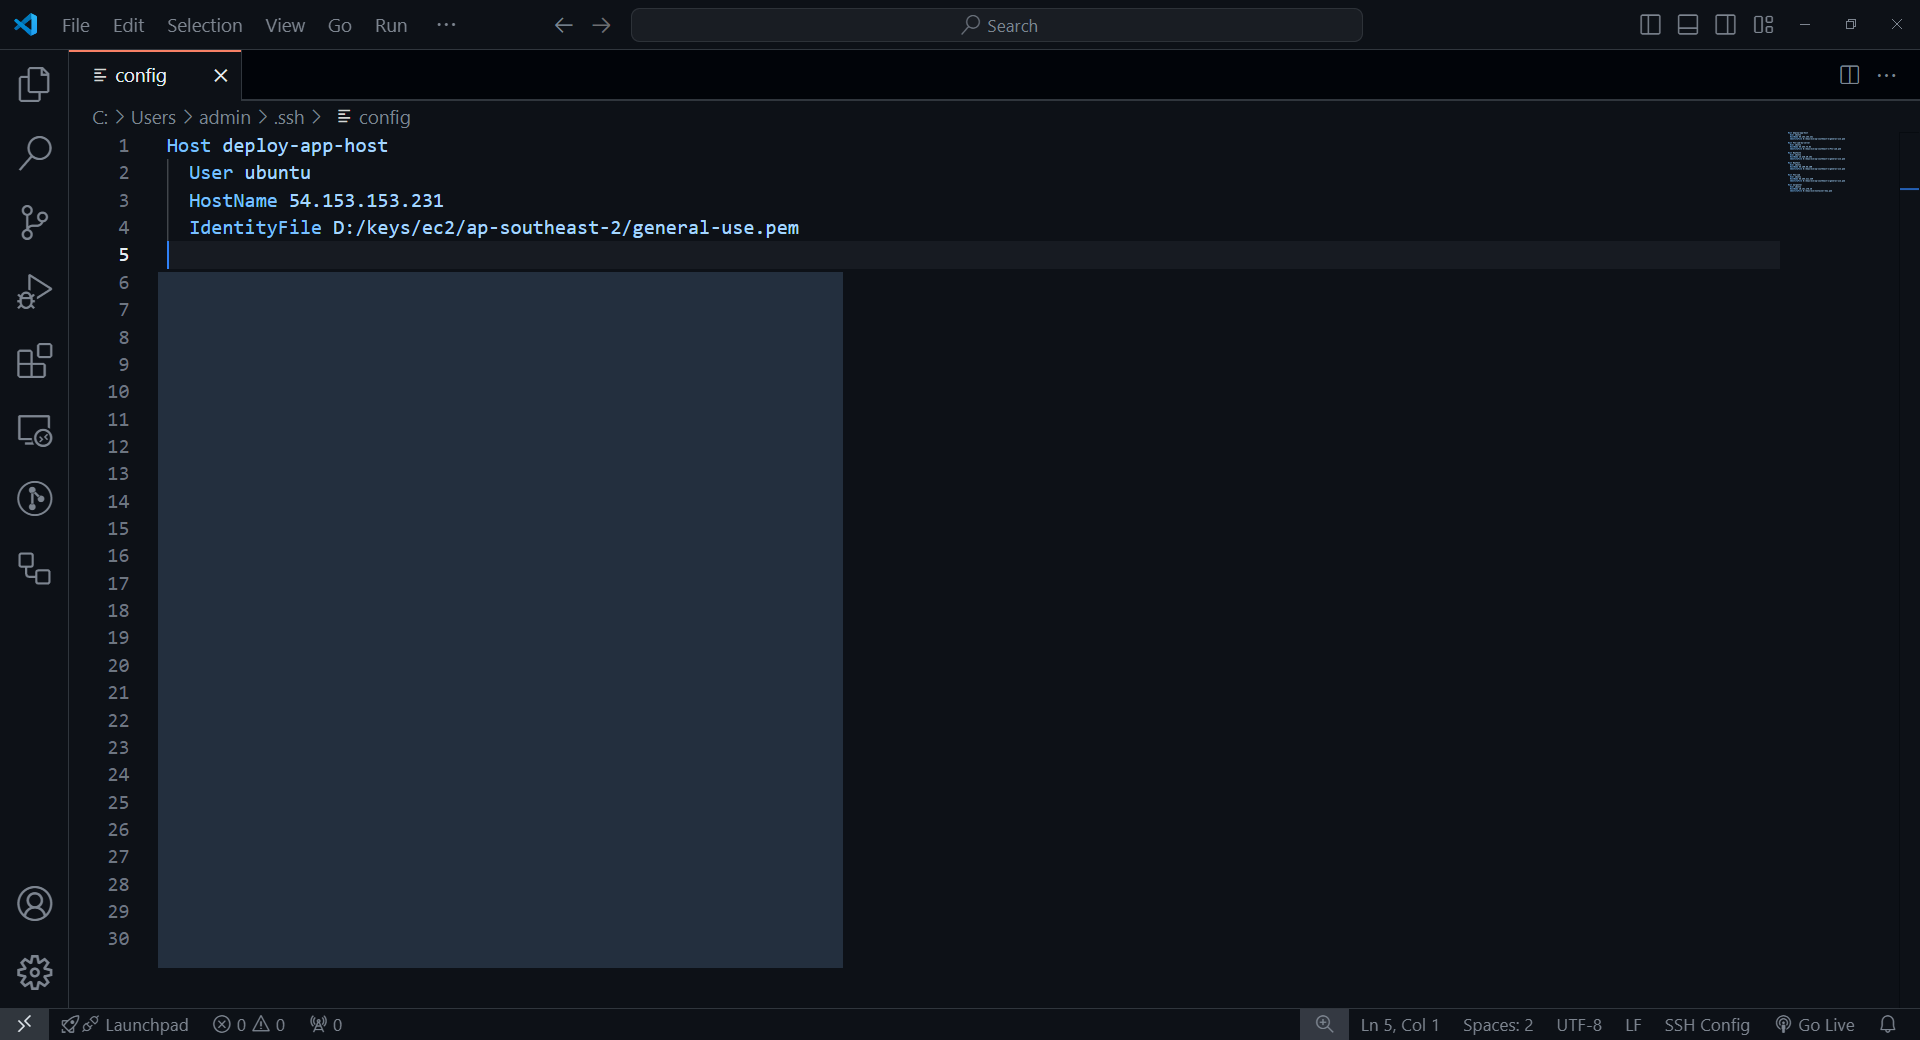
Trong file config này, chúng ta sẽ thiết lập một số thông tin như Host, Name, Key (Identify File) để có thể kết nối được tới EC2 deploy-app-host
Add Remote Host Information
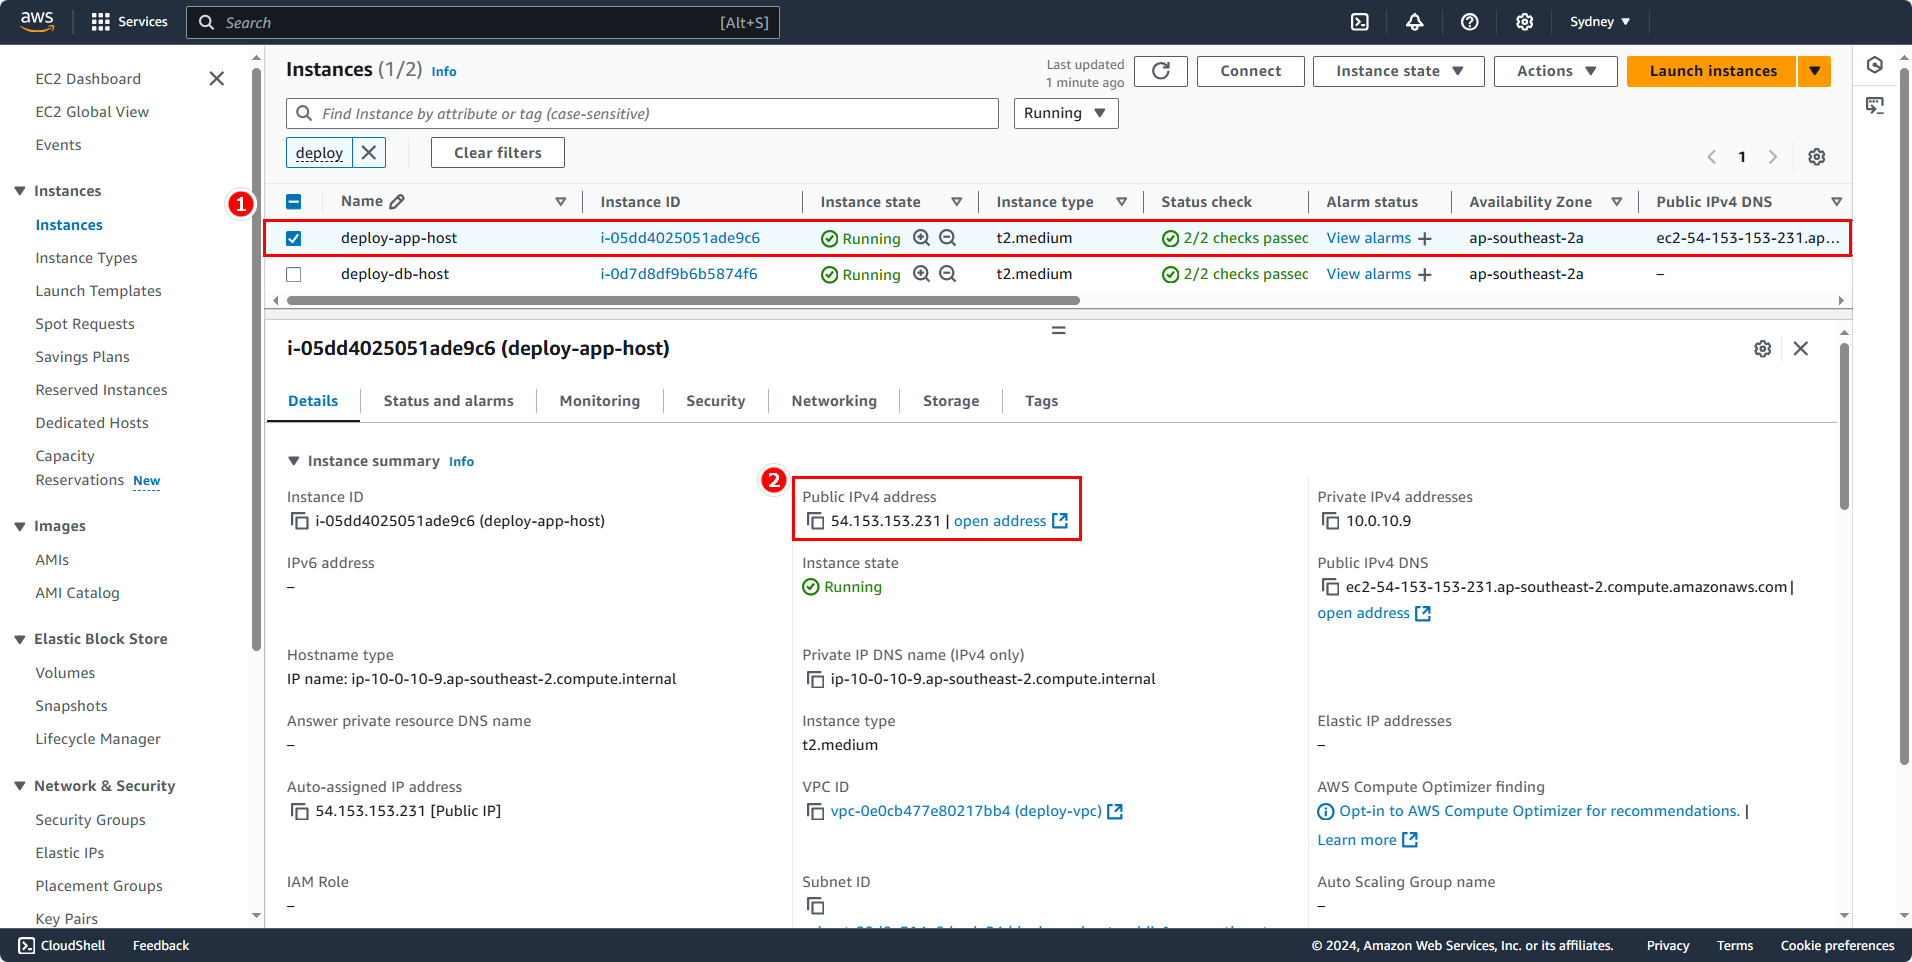
Vào lại trong EC2 Console, vào Instances, chọn EC2 deploy-app-host. Sau đó là copy Public IPv4 address.
Vào lại trong file SSH Config, giờ thì chúng ta sẽ tiến hành thiết lập các thông tin
- User:
ubuntu - HostName:
54.153.153.231 - IdentityFile:
D:/keys/ec2/ap-southeast-2/general-use.pem
Note
Với mỗi AMI Family thì sẽ có các user khác nhau. Amazon Linux thì user là ec2-user, còn với Ubuntu thì là ubuntu. Xem thêm ở đây https://docs.aws.amazon.com/AWSEC2/latest/UserGuide/managing-users.html
Thiết lập xong thì lưu lại và thoát. Tiếp tục dùng tổ hợp phím Ctrl + Shift + P để mở Command Palette
- Nhập
>SSH - Chọn Remote-SSH: Connect Current Window to Host…
Note
Những bưới tới phải làm thật nhanh, nếu không thì handshake giữa SSH Client và SSH Server sẽ thất bại
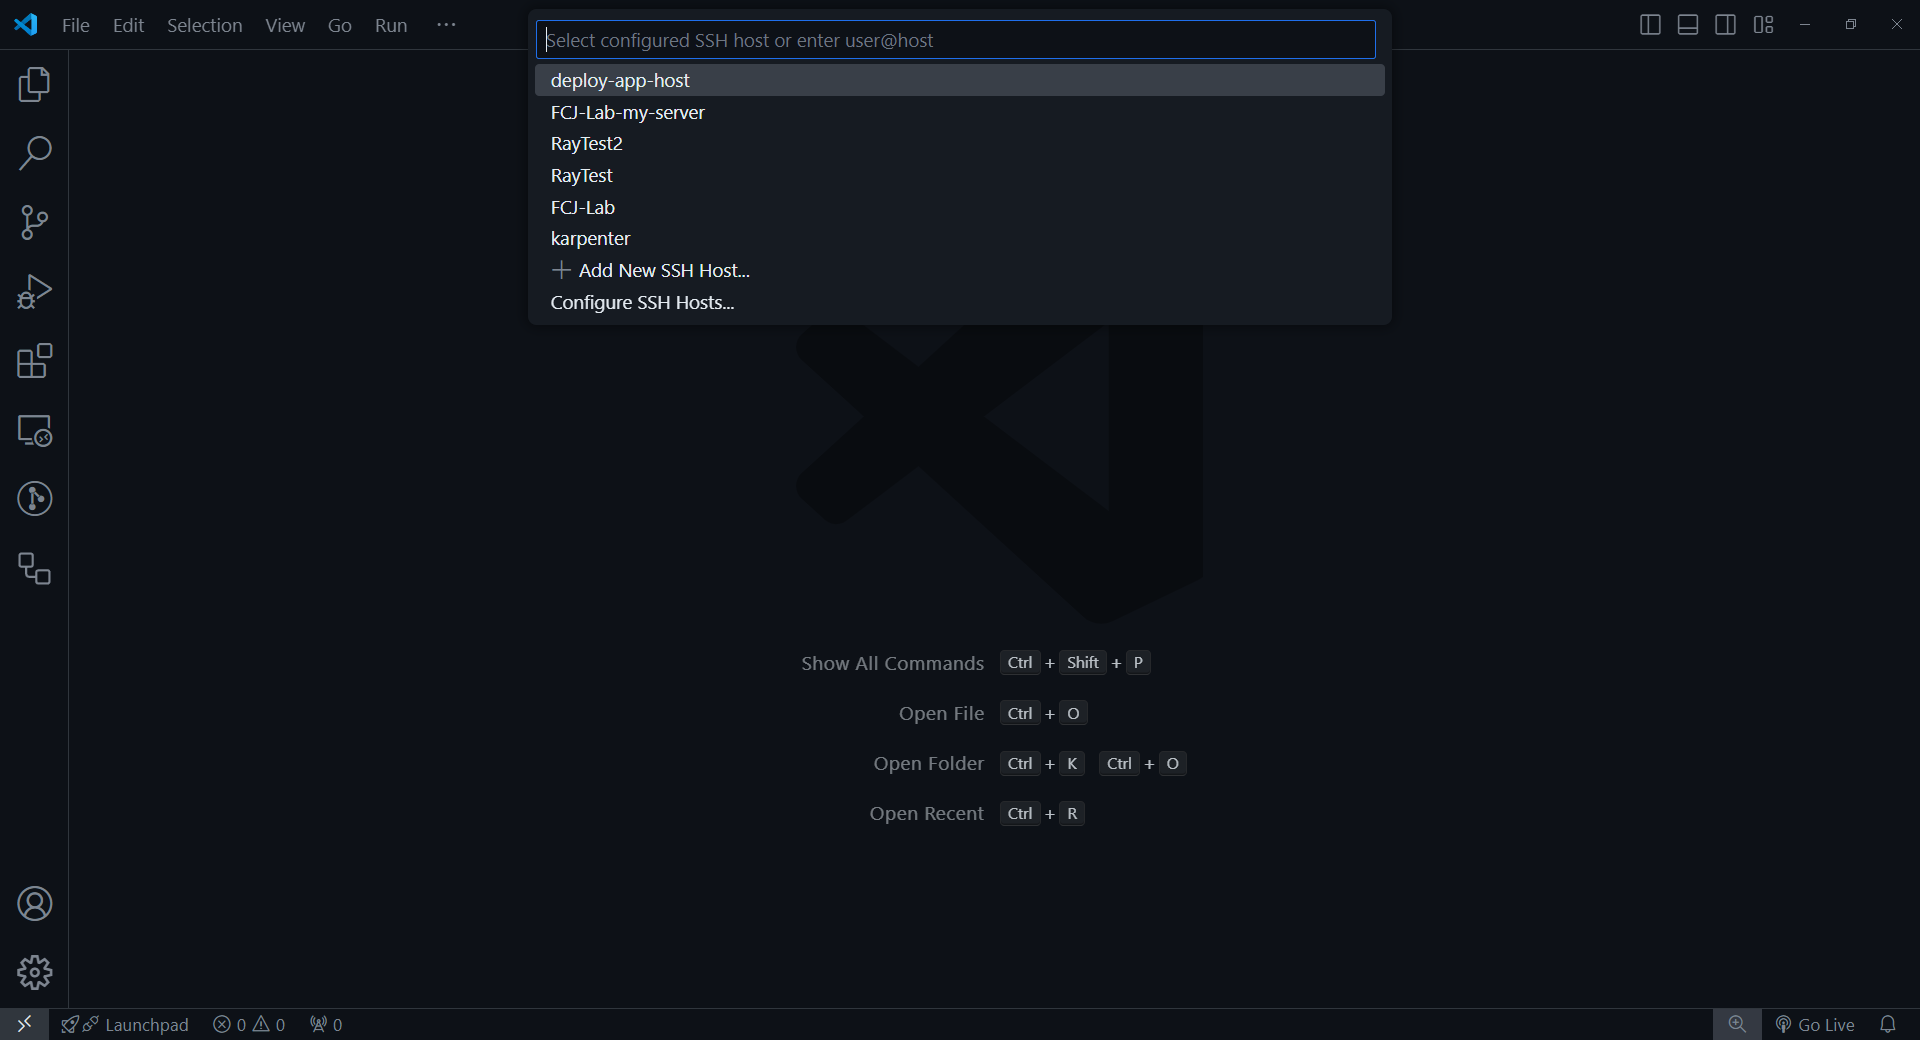
Chọn deploy-app-host, host đã tạo khi nãy
Chọn tiếp Linux
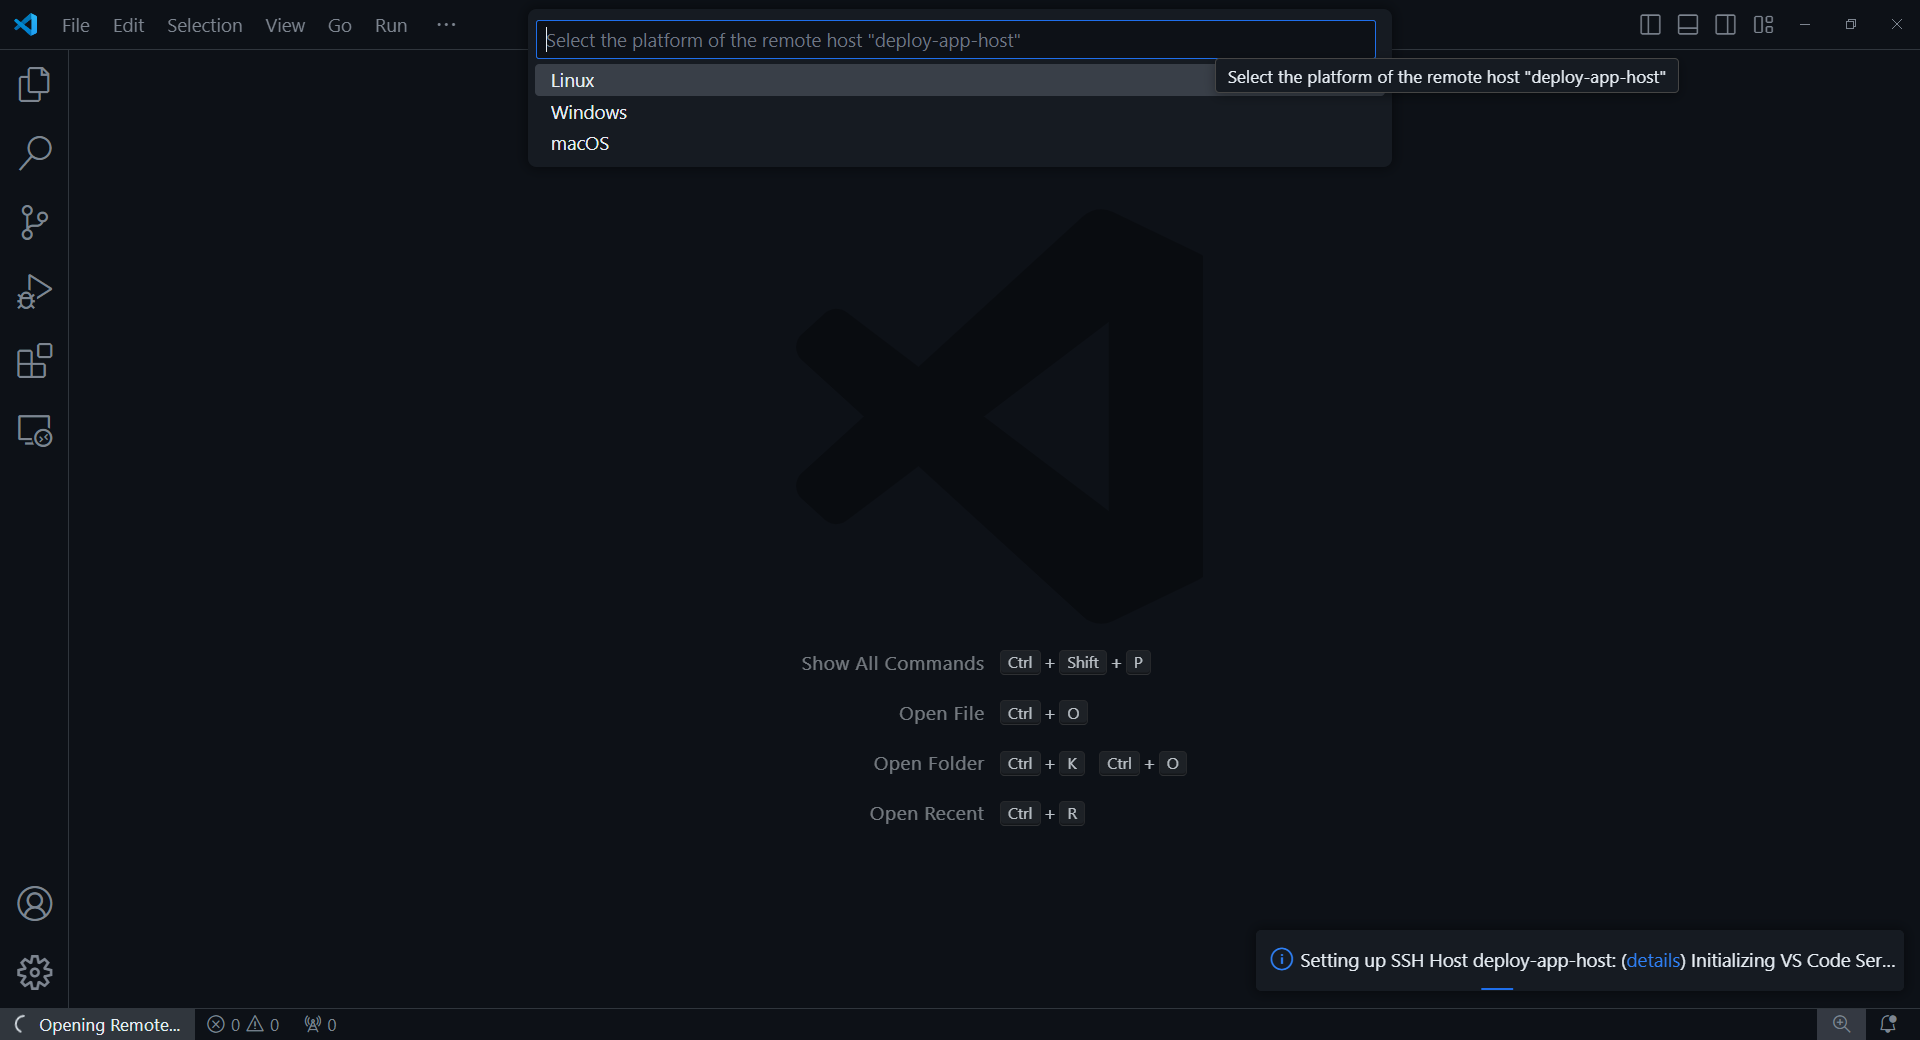
Chọn Continute
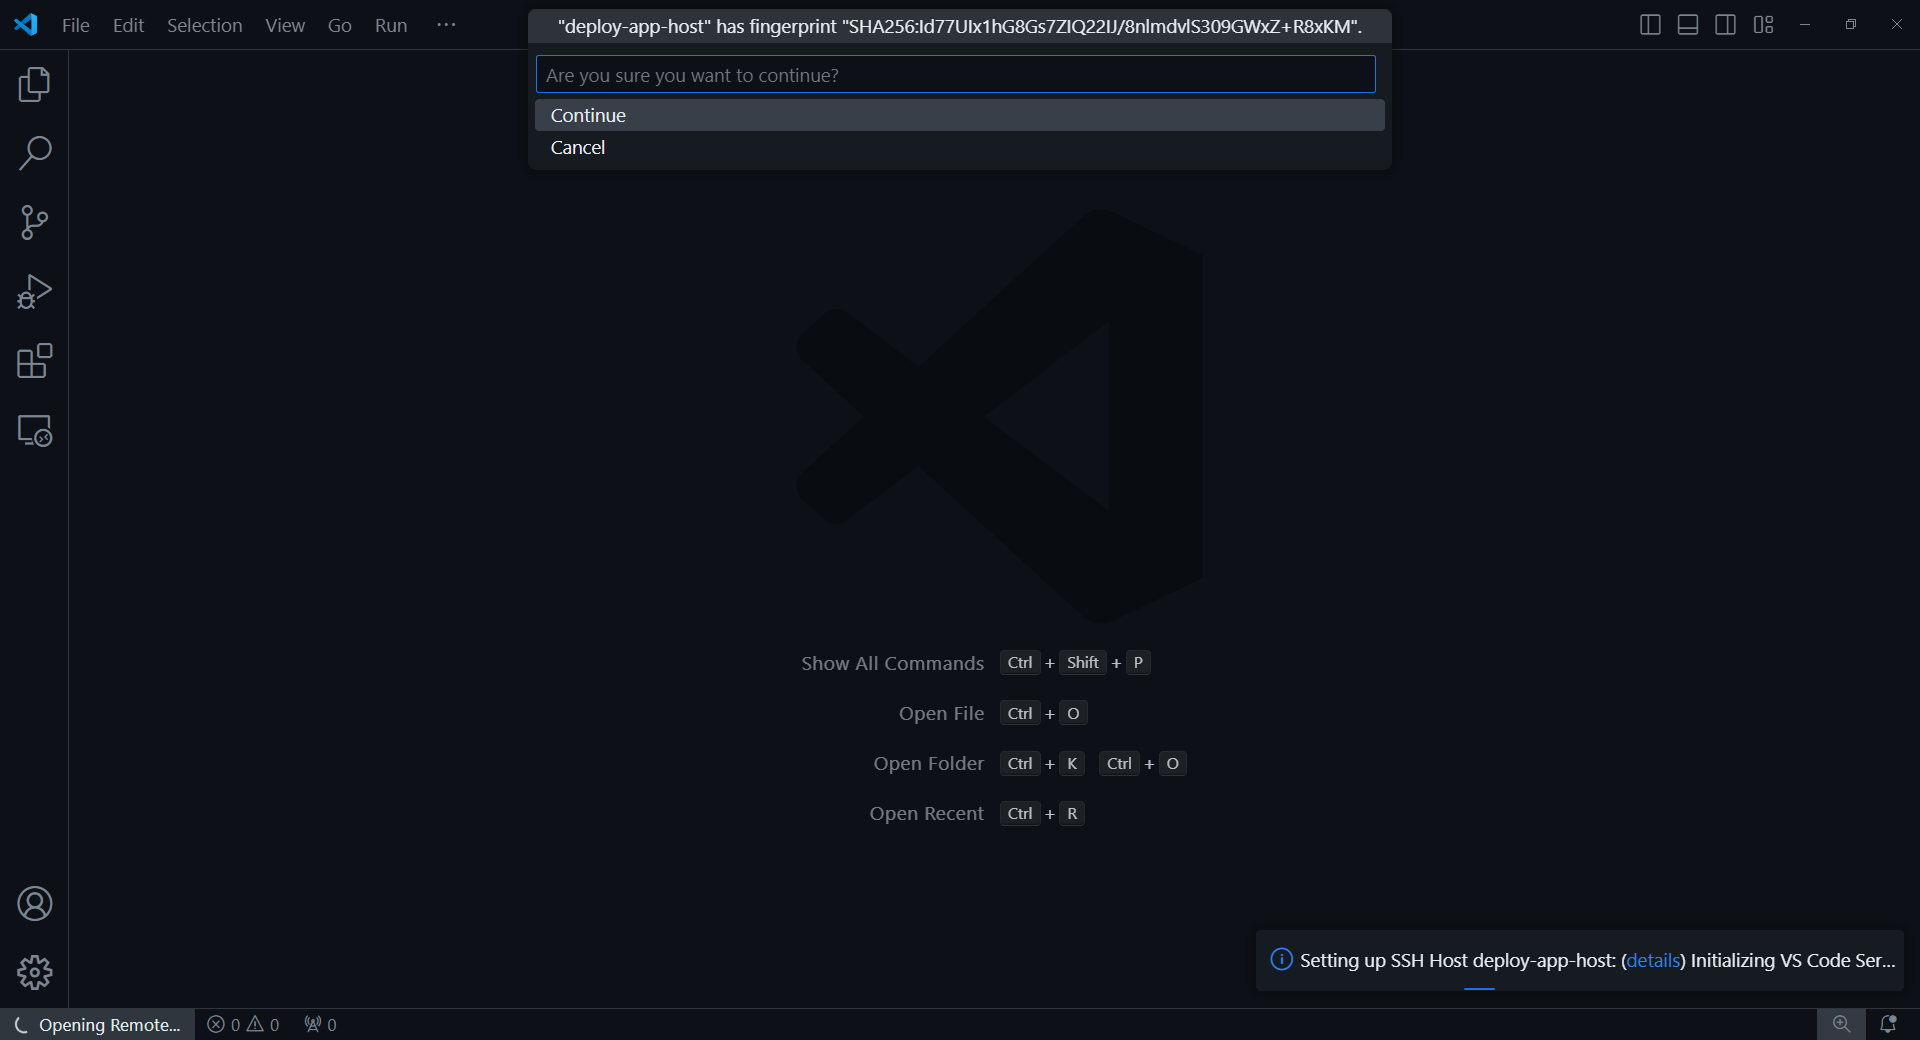
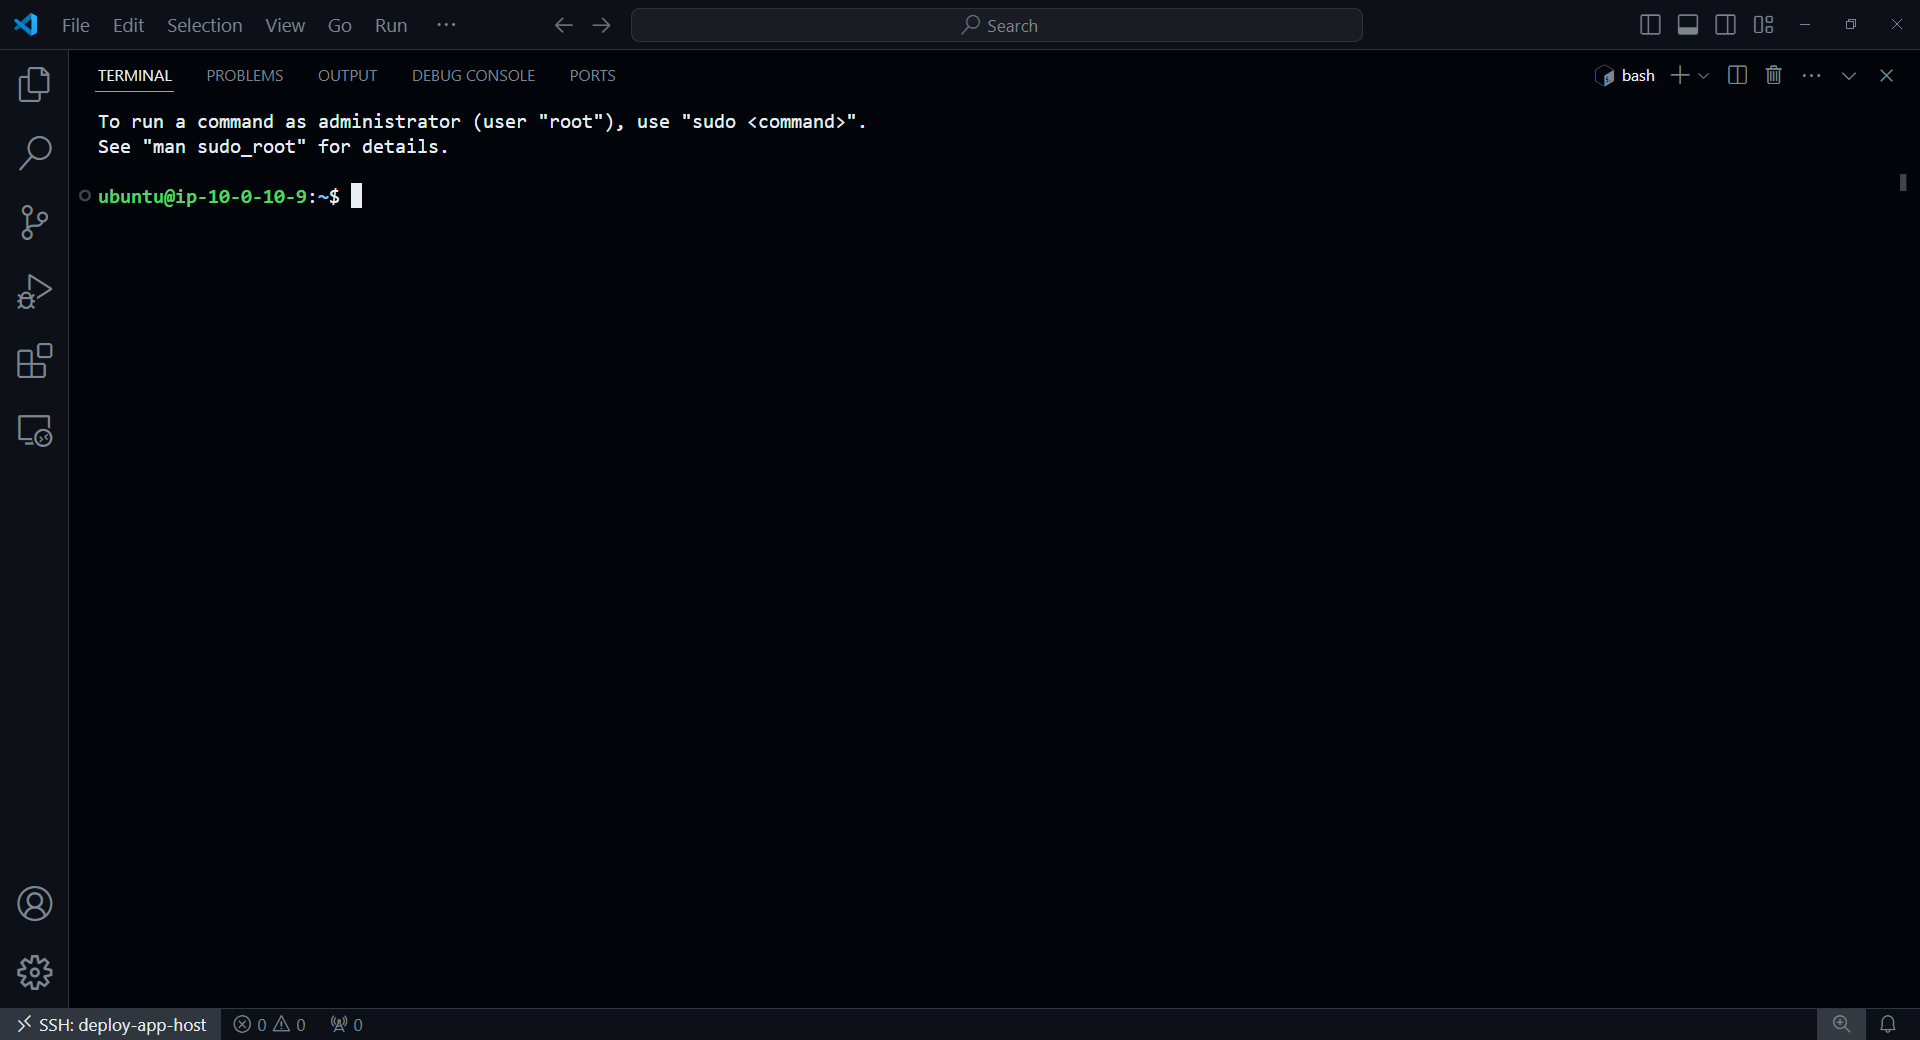
Chờ một xíu để Remote Host có thể thiết lập các cài đặt cho VSCode, giờ thì mình đã có thể SSH vào được bên trong EC2 deploy-app-host.
Open directory of Remote Host in VSCode
Nhiêu đó vẫn chưa hết cái hay của VSCode, giờ chúng ta còn có thể mở directory của Host trong VSCode, giúp chúng ta thao tác tạo, xoá folder, file, thậm trí là tải nội dung dễ dàng hơn.
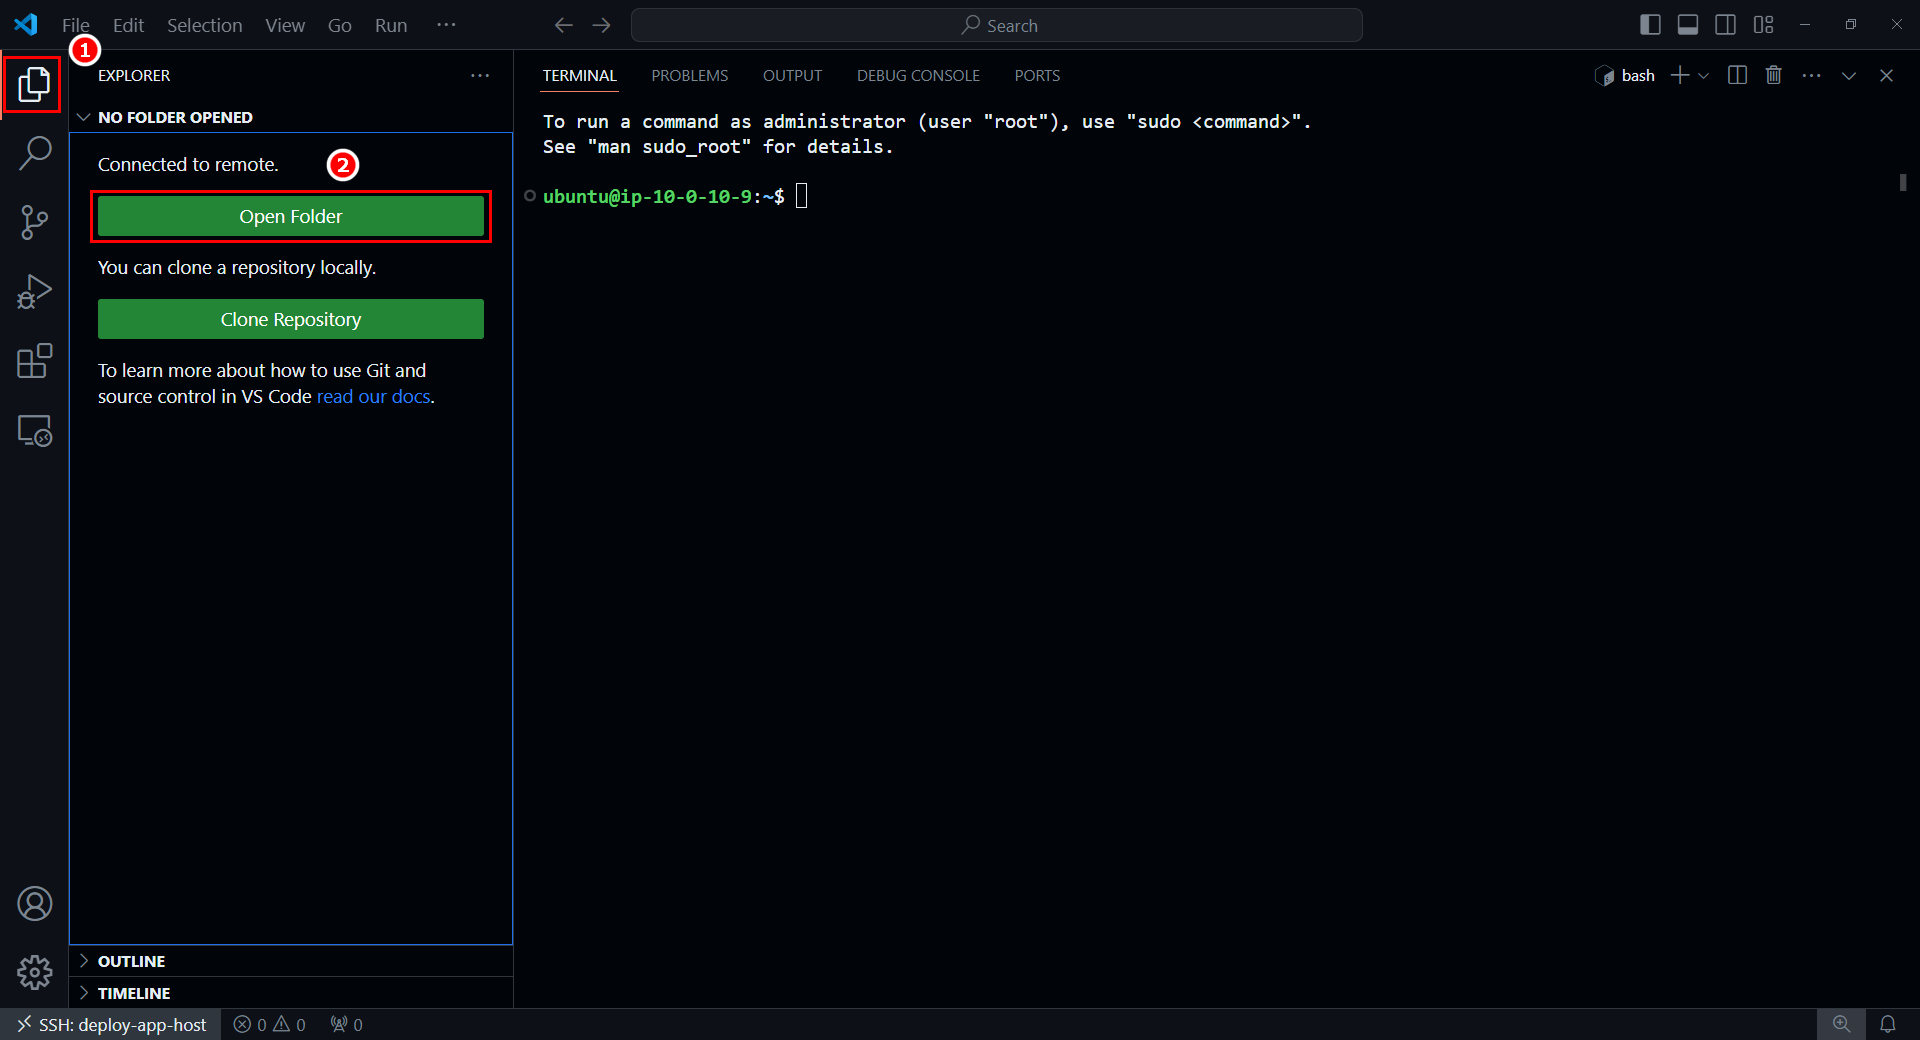
- Mở Explorer trên VSCode
- Ấn Open Folder
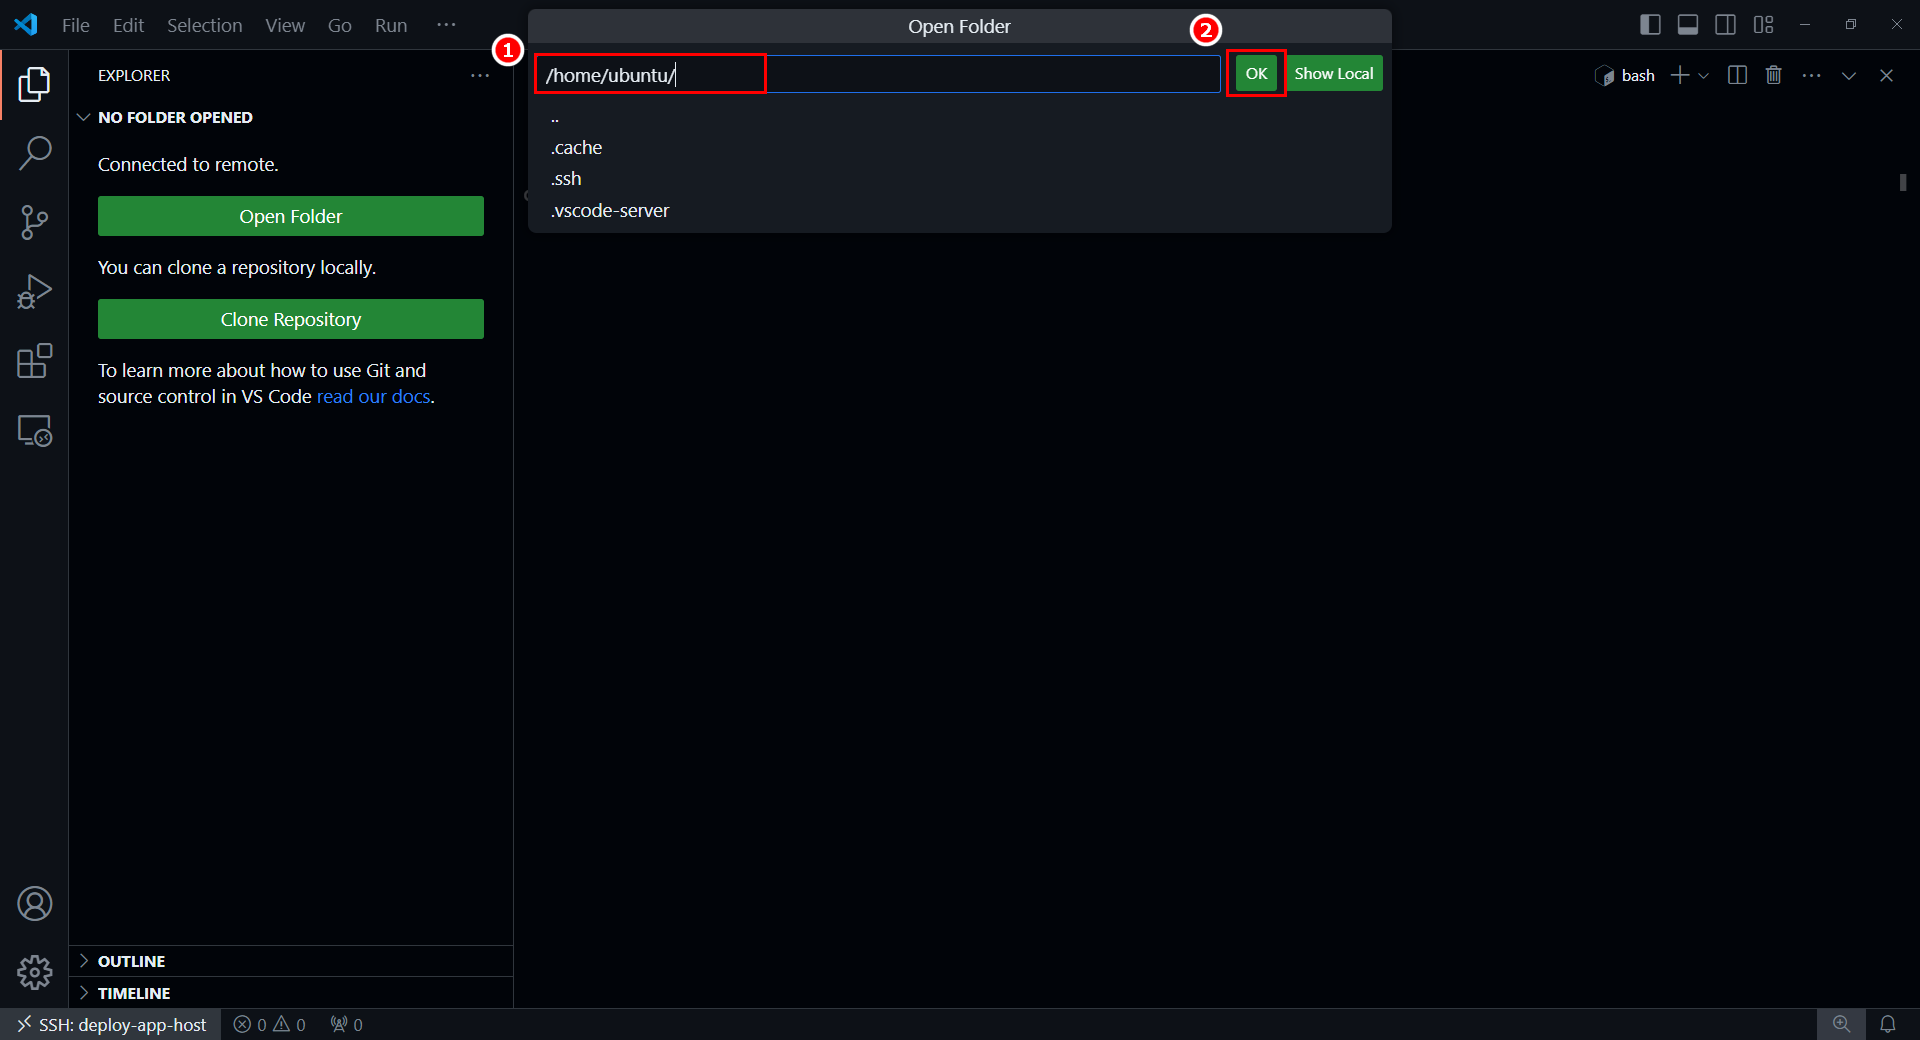
Mở Folder /home/ubuntu là “trang chủ” của người dùng ubuntu, ấn Ok
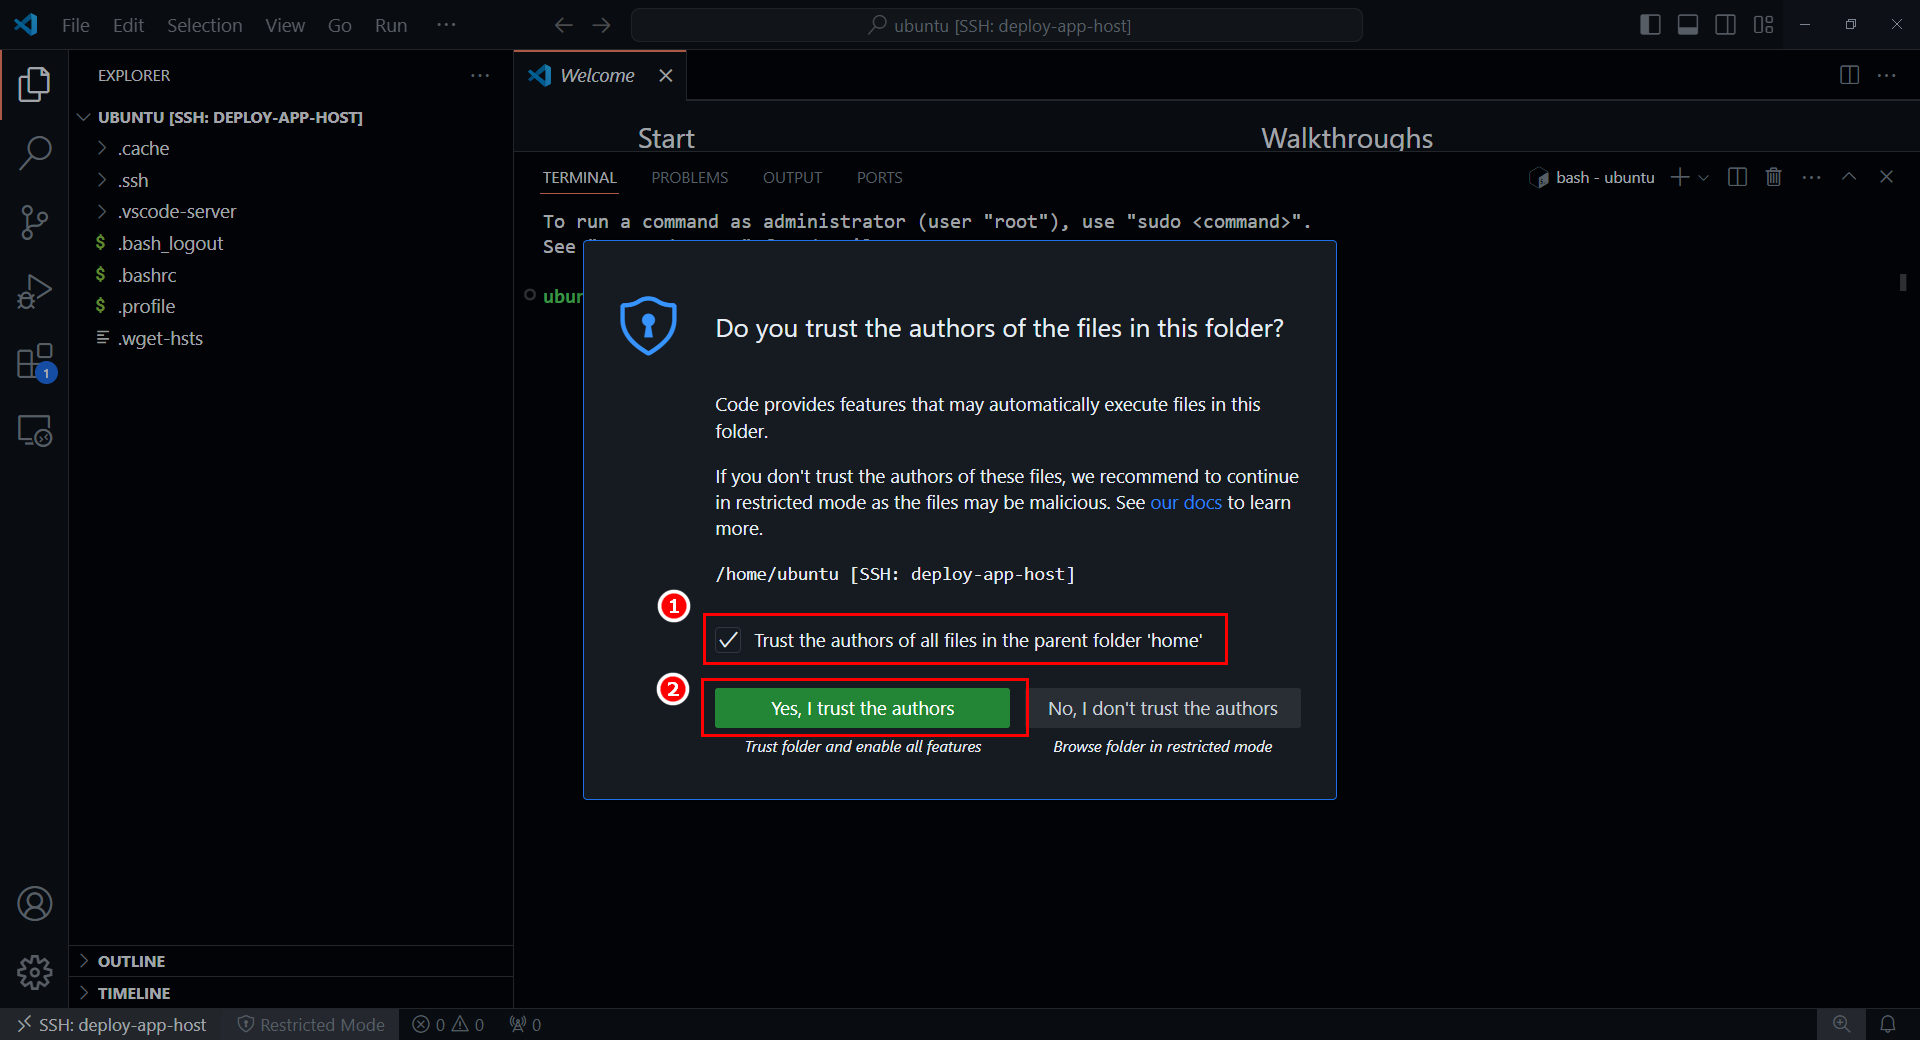
VSCode sẽ hỏi về Trusthy, giống khi mà chúng ta mở một folder mới trên VSCode ở trong máy tính cá nhân
- Tích chọn Trush the authors of all files in the parent folder ‘home’
- Ấn Yes, I trust the authors
Và đây là kết quả cuối cùng
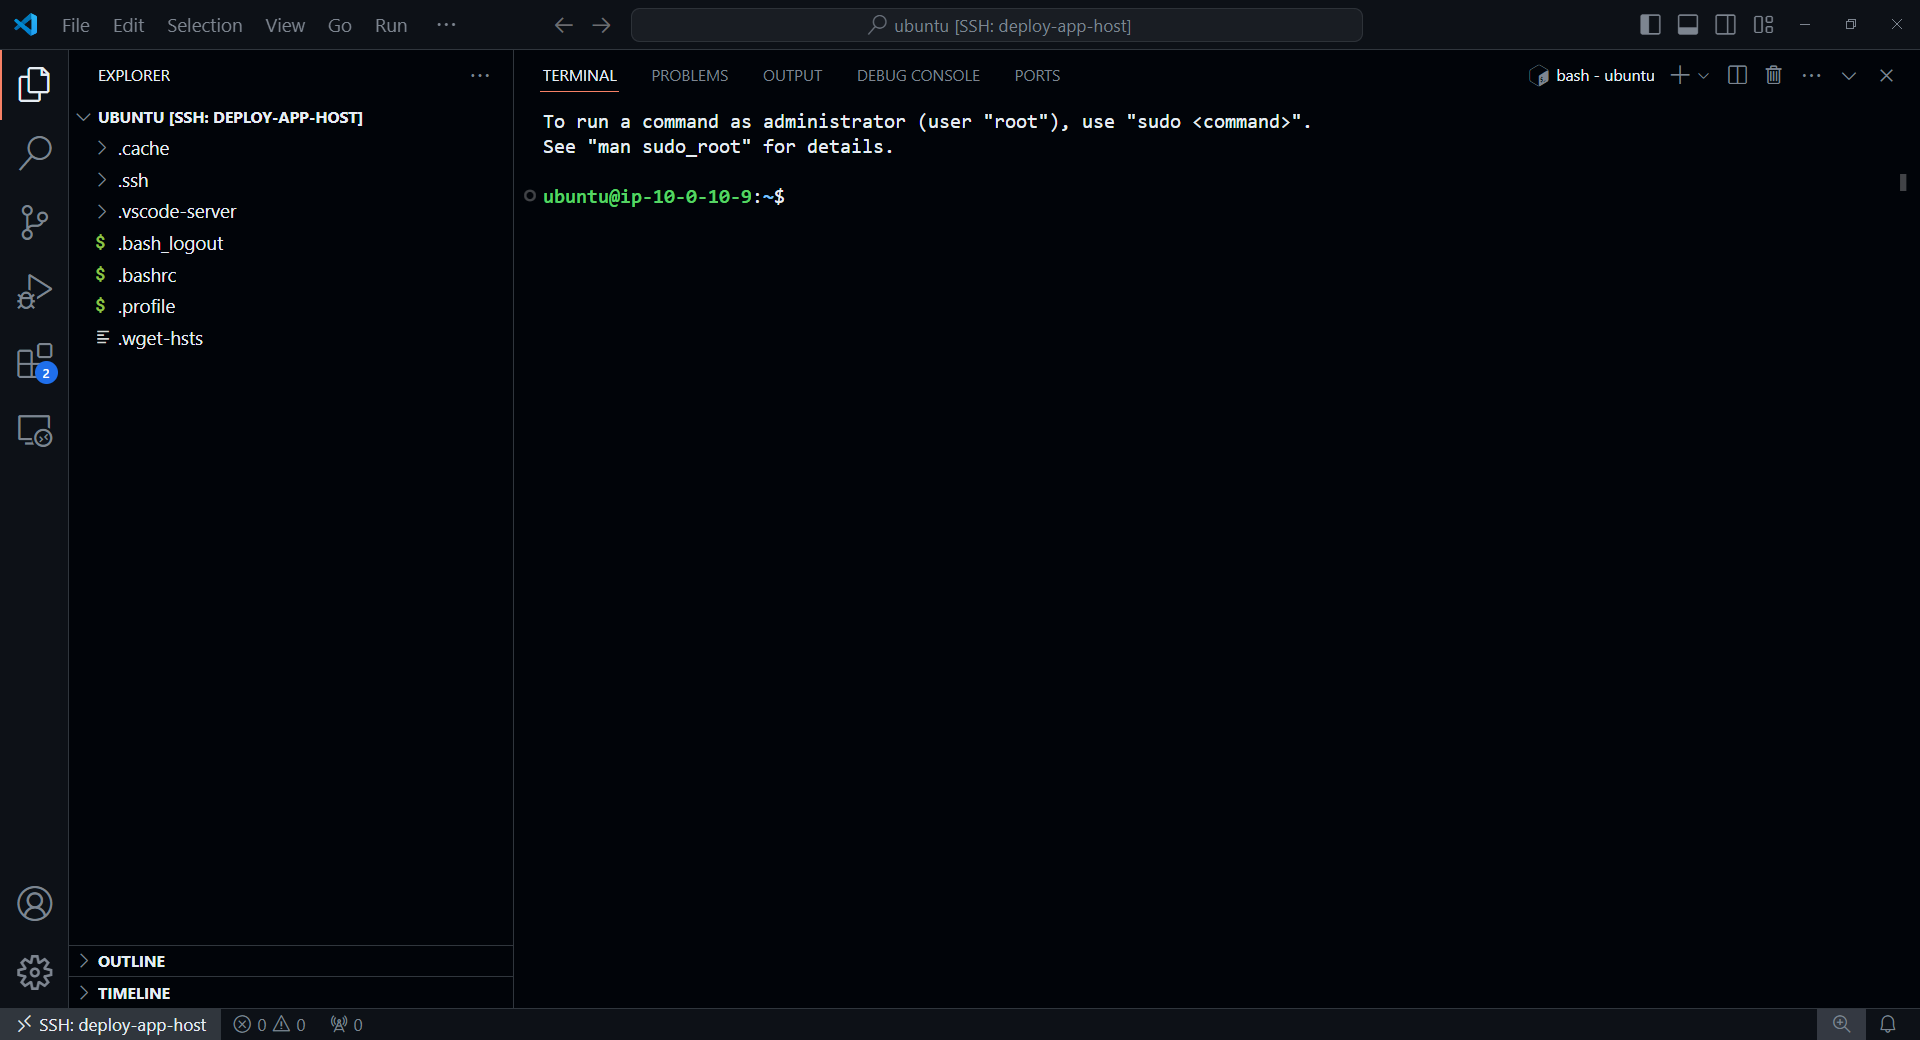
Như vậy thì chúng ta đã kết nối SSH tới Remote Host bằng VSCode thành công, trong các bước sau thì chúng ta sẽ dùng VSCode làm workspace để thực hiện các thao tác khác.
Note
Trước đây thì Cloud9 còn hoạt động thì người ta thường dùng nó để thực hiện các thao tác này, nhưng giờ thì nó đã bị khai tử cho nên là phải chuyển sang VSCode làm giải pháp thay thế.