Build
Đầu tiên, cd vào trong thư mục client trong thư mục của dự án. Sau đó là cài đặt các dependencies cần thiết.
cd todoapp/client
npm install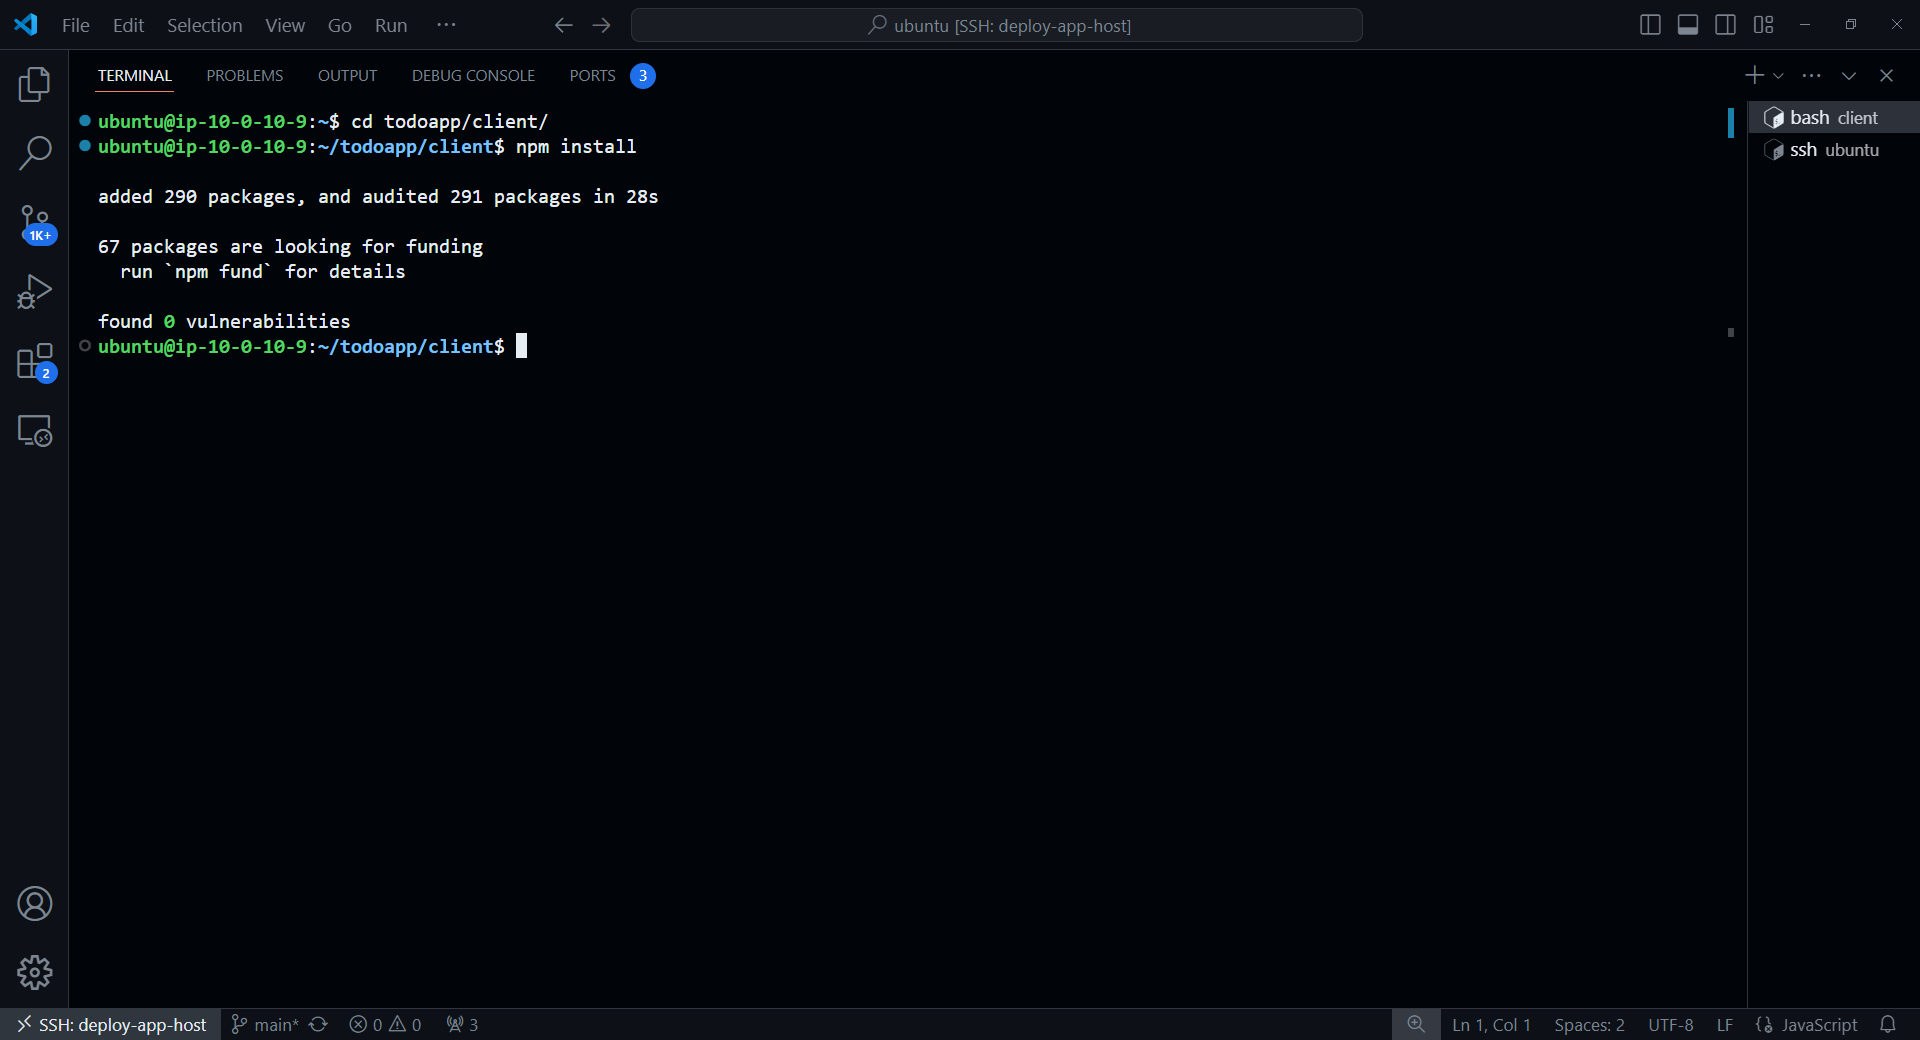
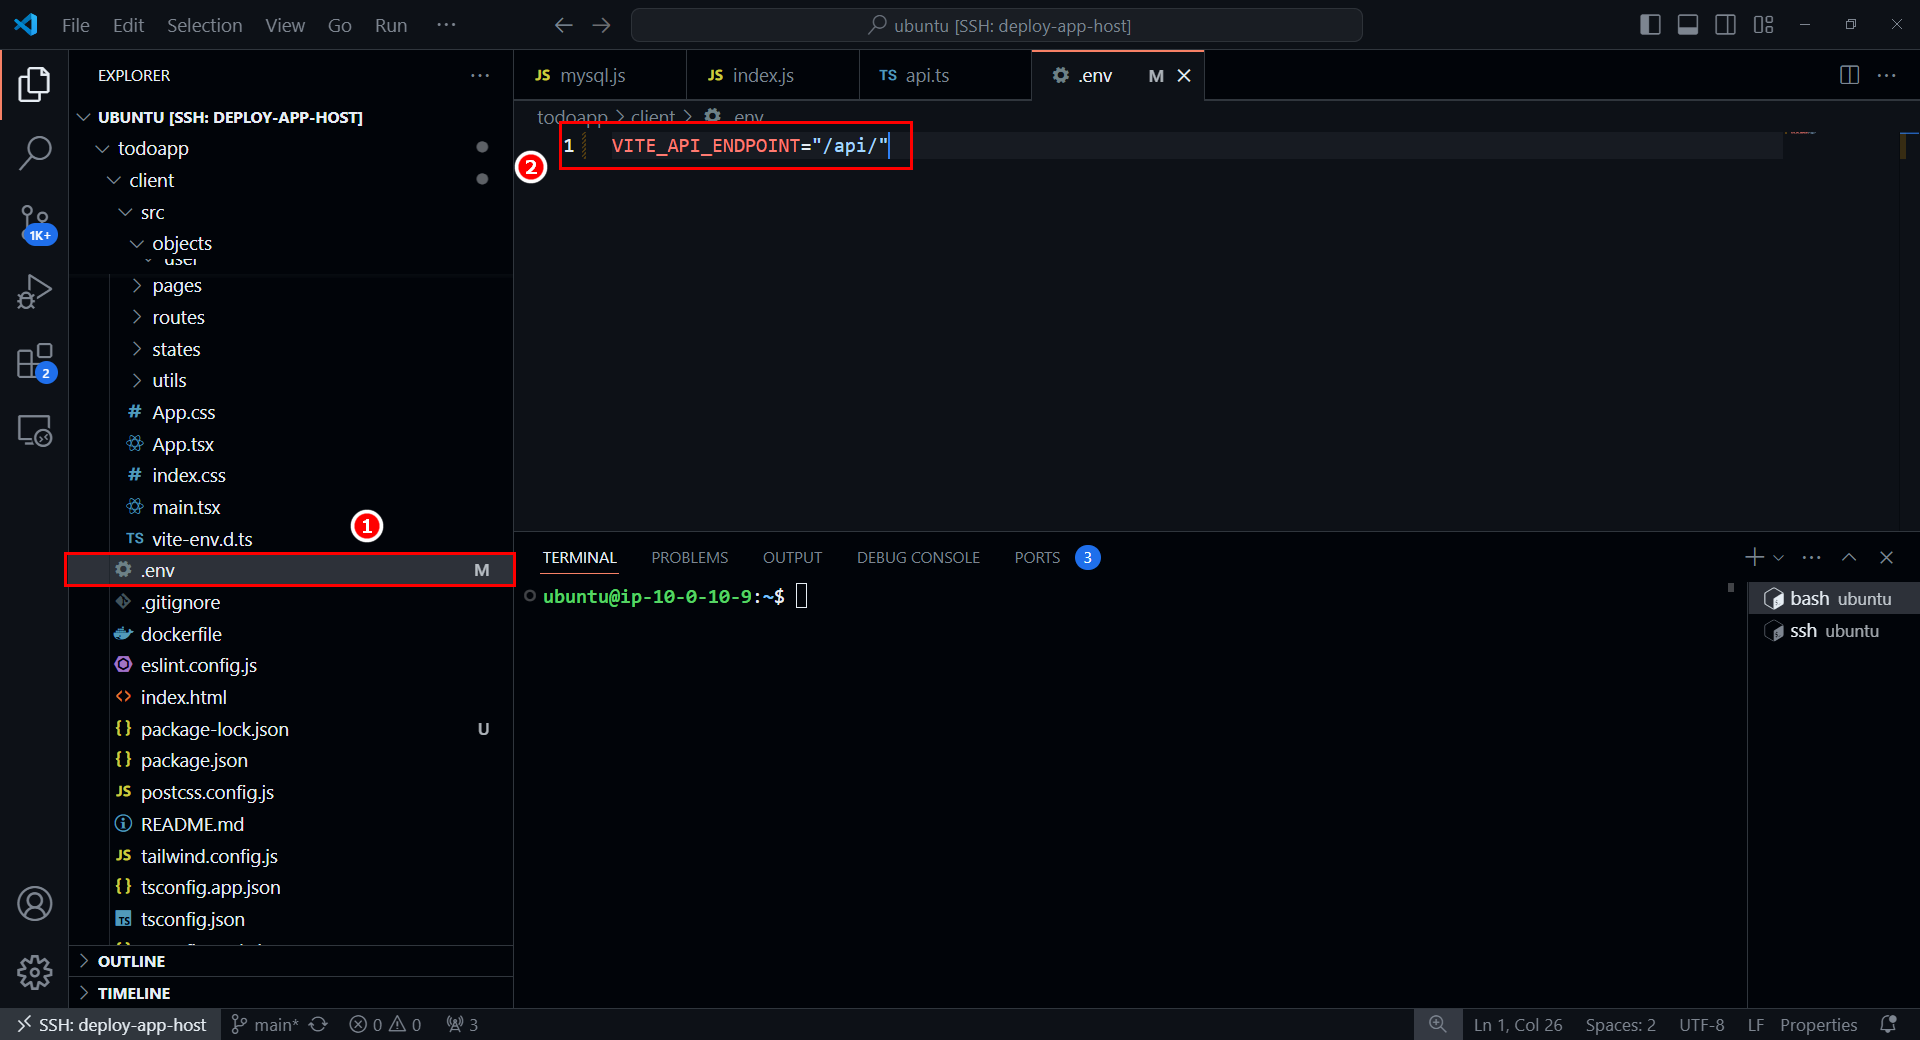
Vào trong file /todoapp/client/.env để chỉnh lại thông tin như sau
Giờ thì thực hiện build source của React thành static file để cho Nginx có thể trả về cho client mỗi khi có request tới
npx vite build
# Hoặc
npm run build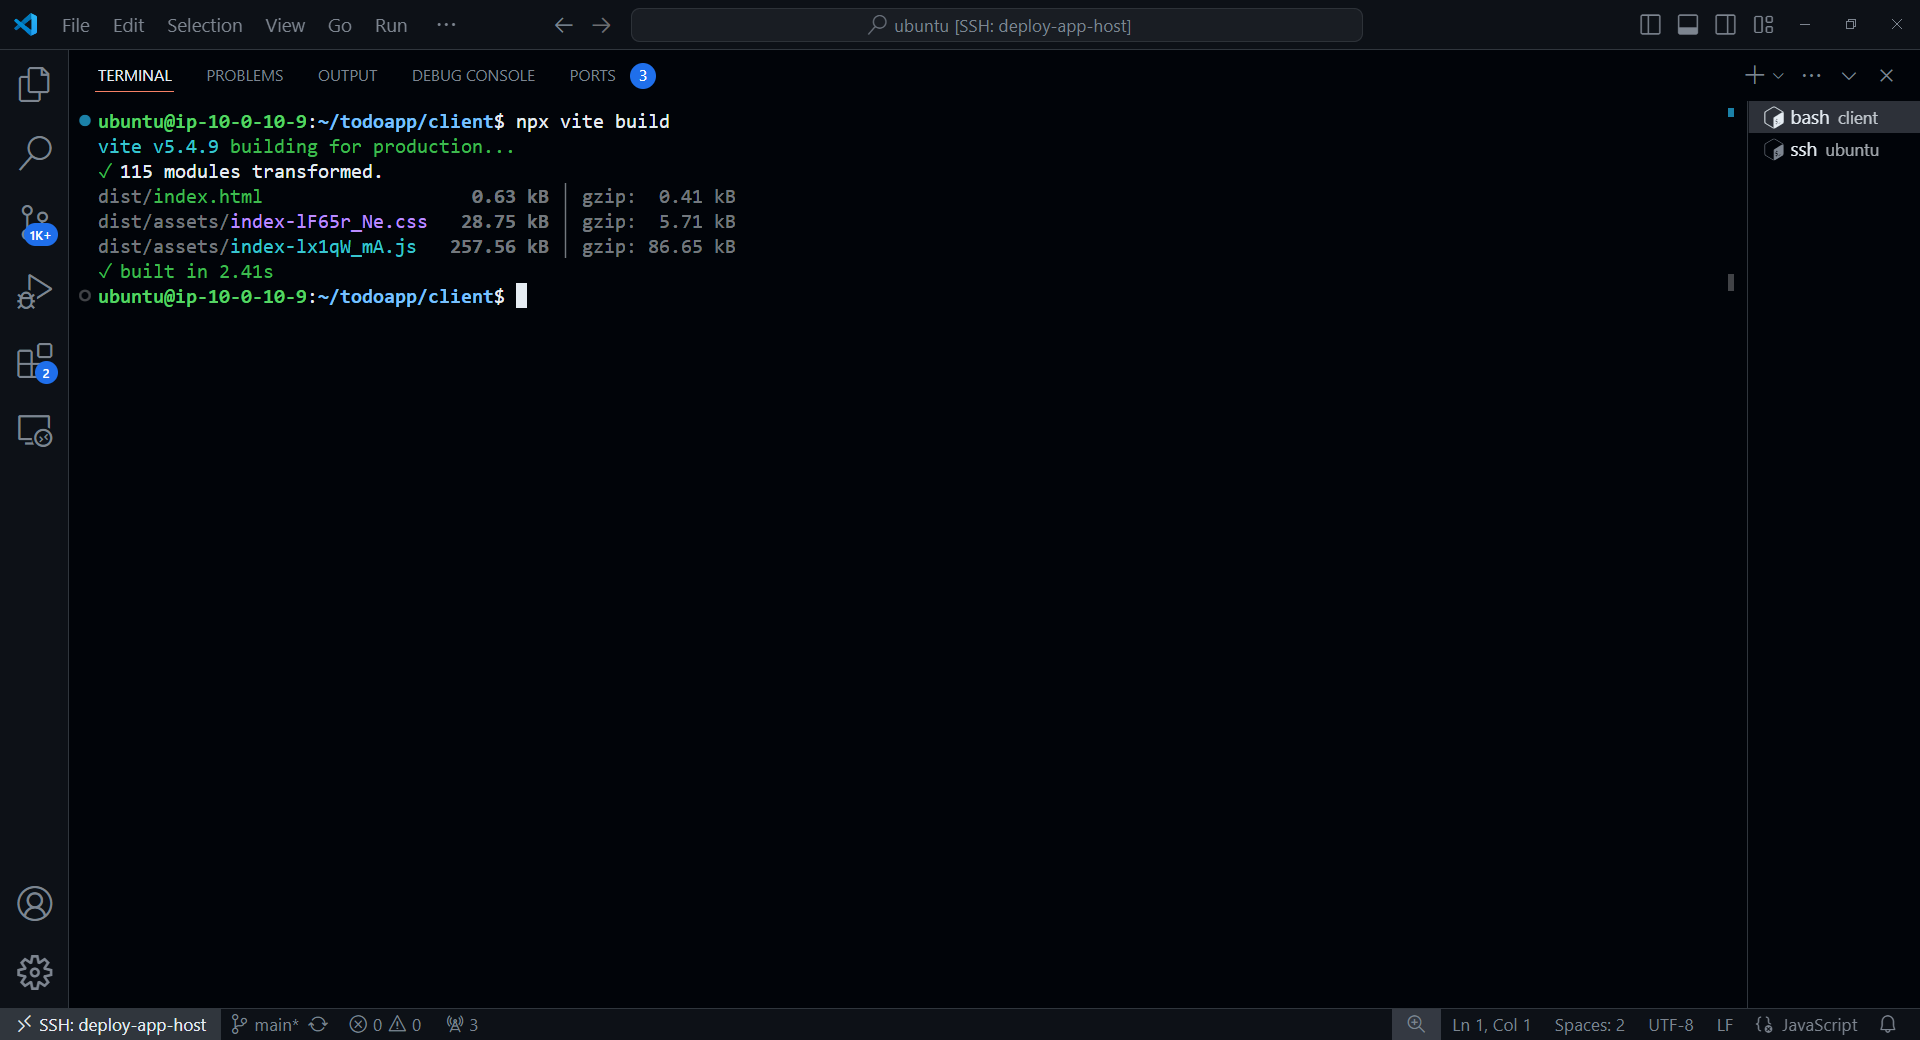
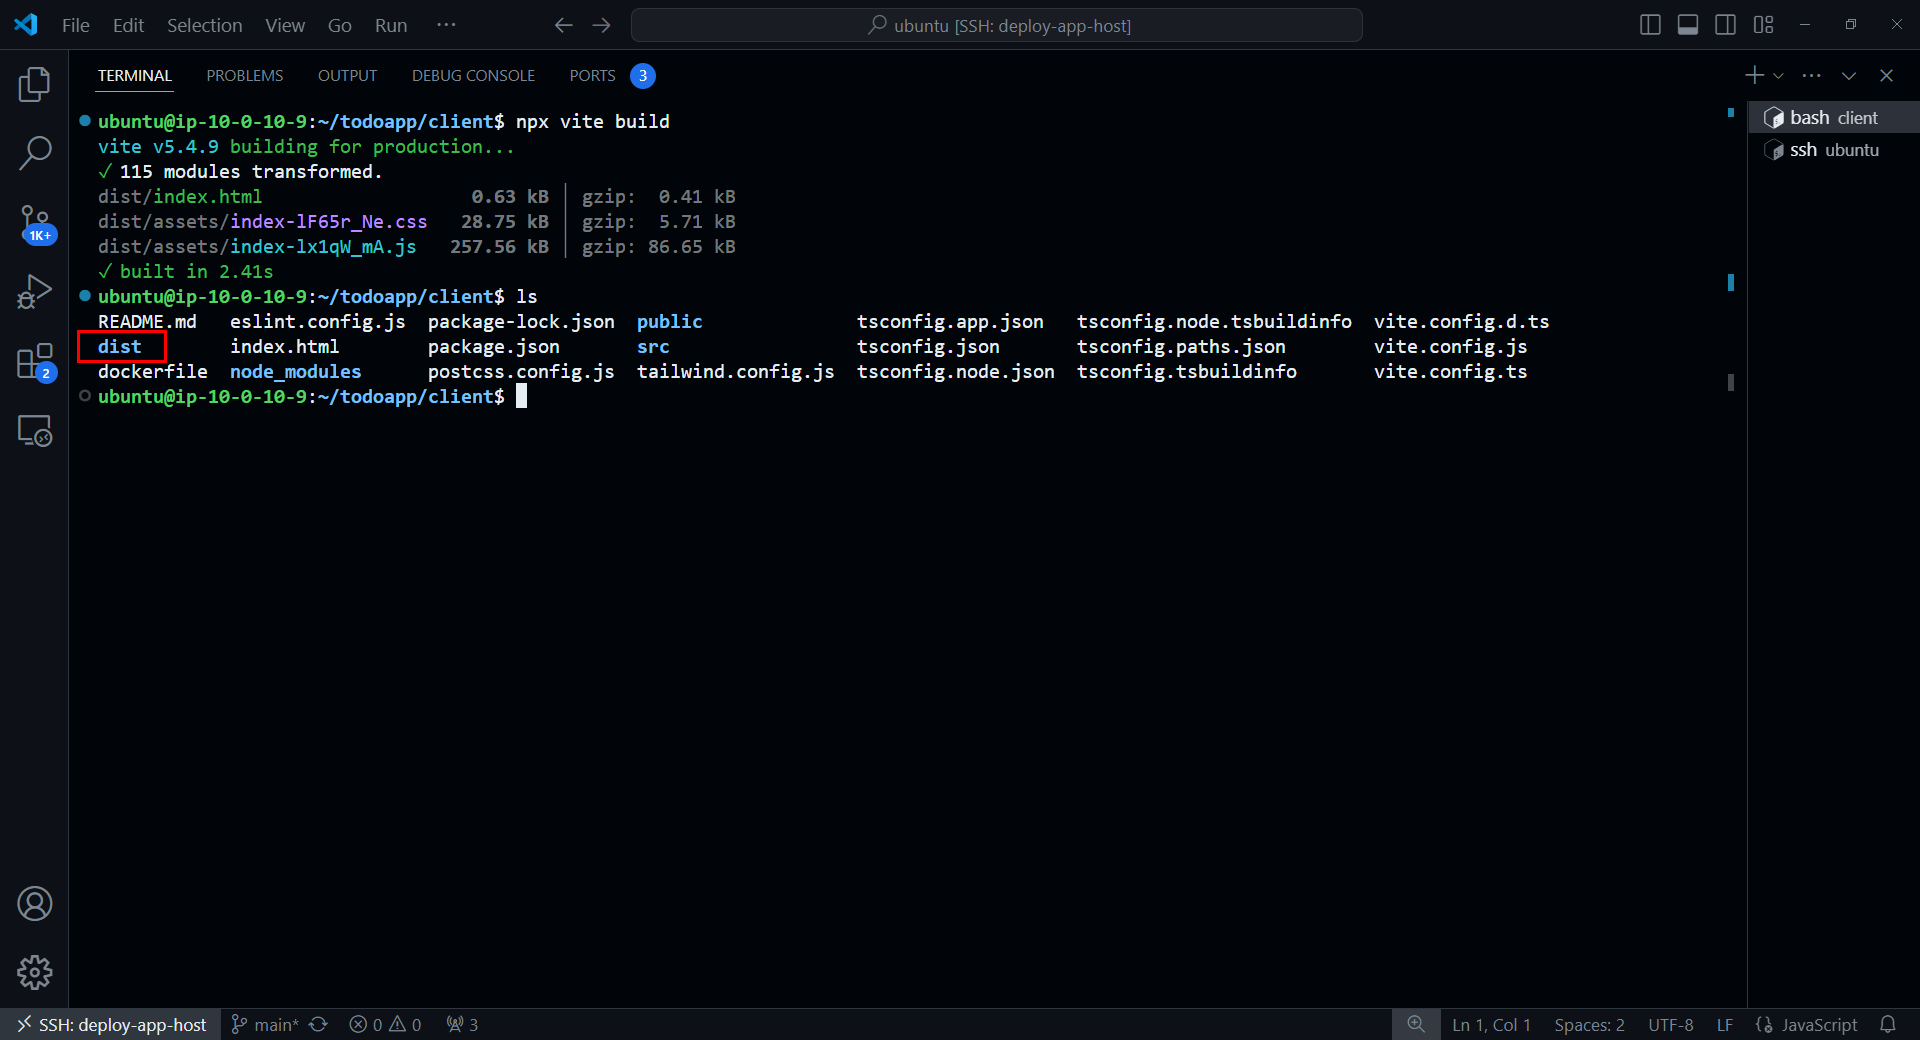
Và mình có thể thấy được output nằm ở trong thư mục build hoặc dist
Ok, như vậy là chúng ta đã build xong, rất đơn giản.
Deploy
Tiếp theo, sao chép và chuyển output của Vite, public và index.html sang folder /var/www/todoapp. Tạo thư mục todoapp trong /var/www
sudo mkdir /var/www/todoapp
sudo cp -r $HOME/todoapp/client/dist/* /var/www/todoapp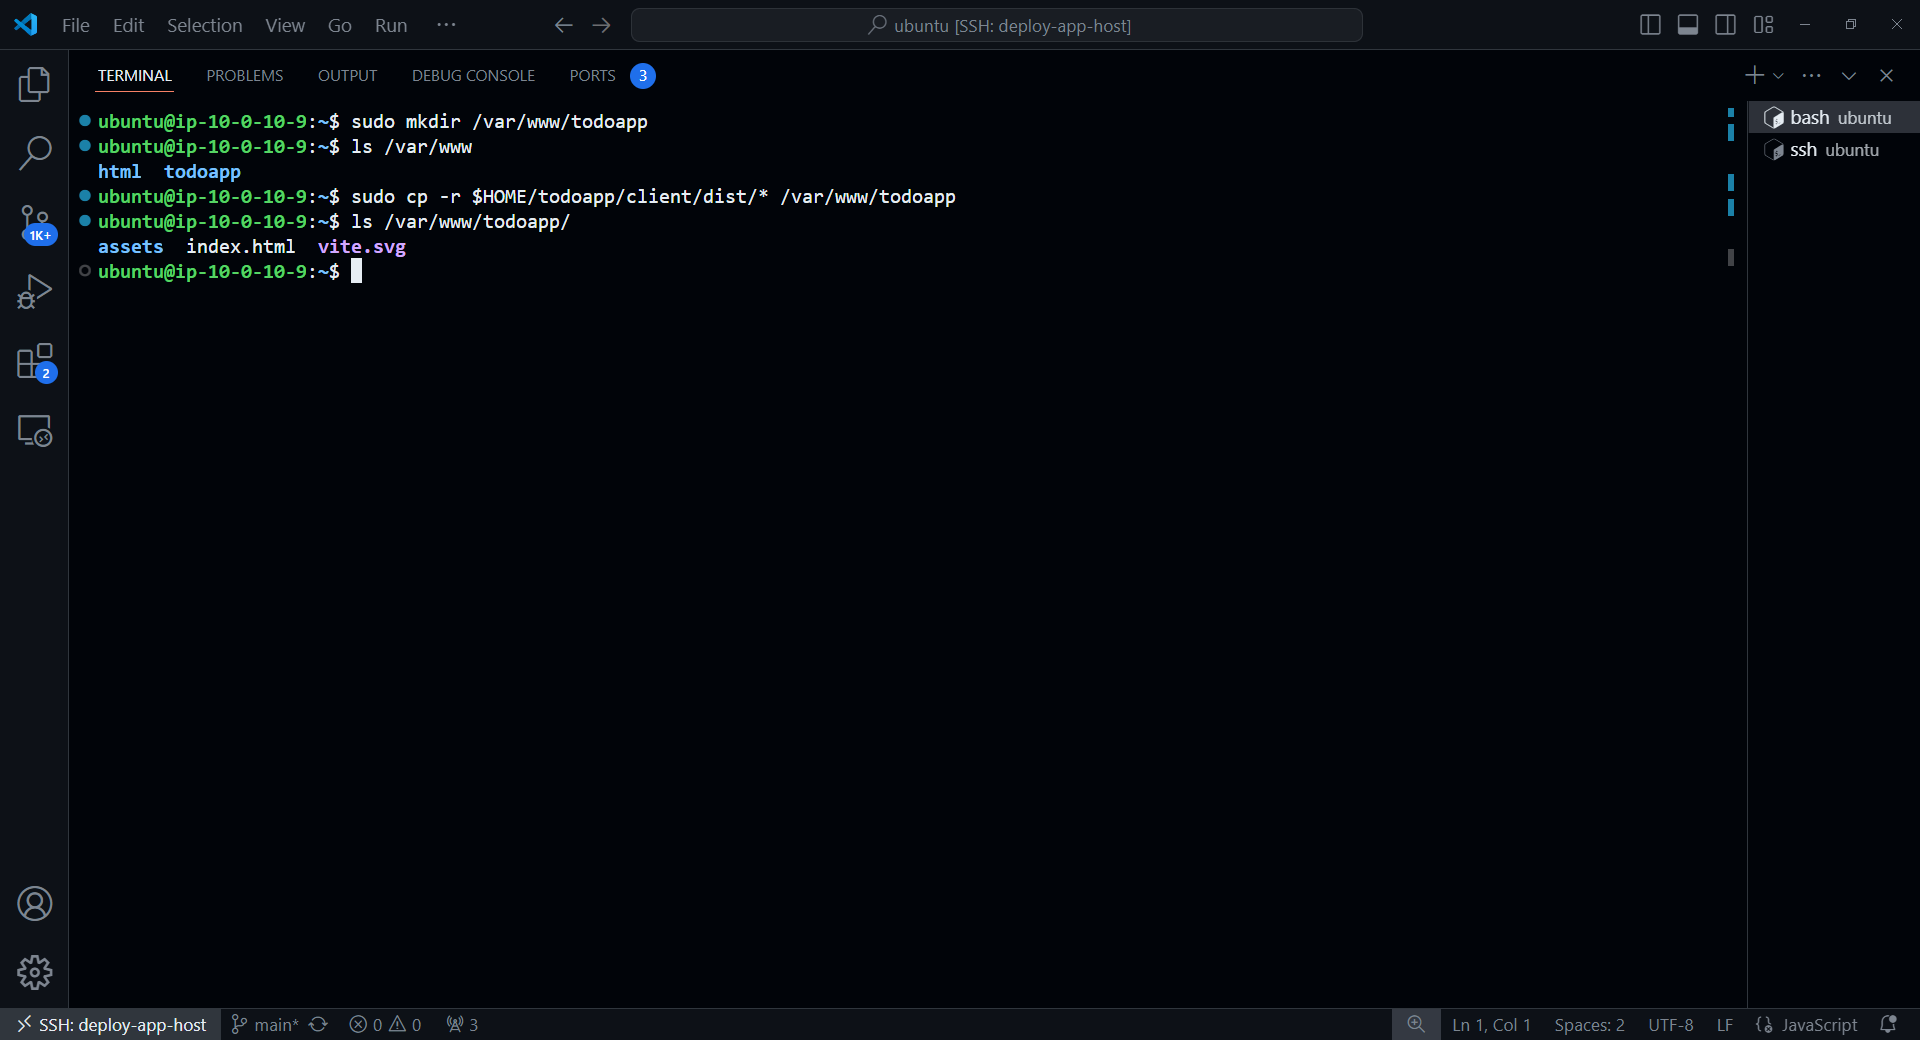
Sau đó là tạo thêm một file config mới tên là default
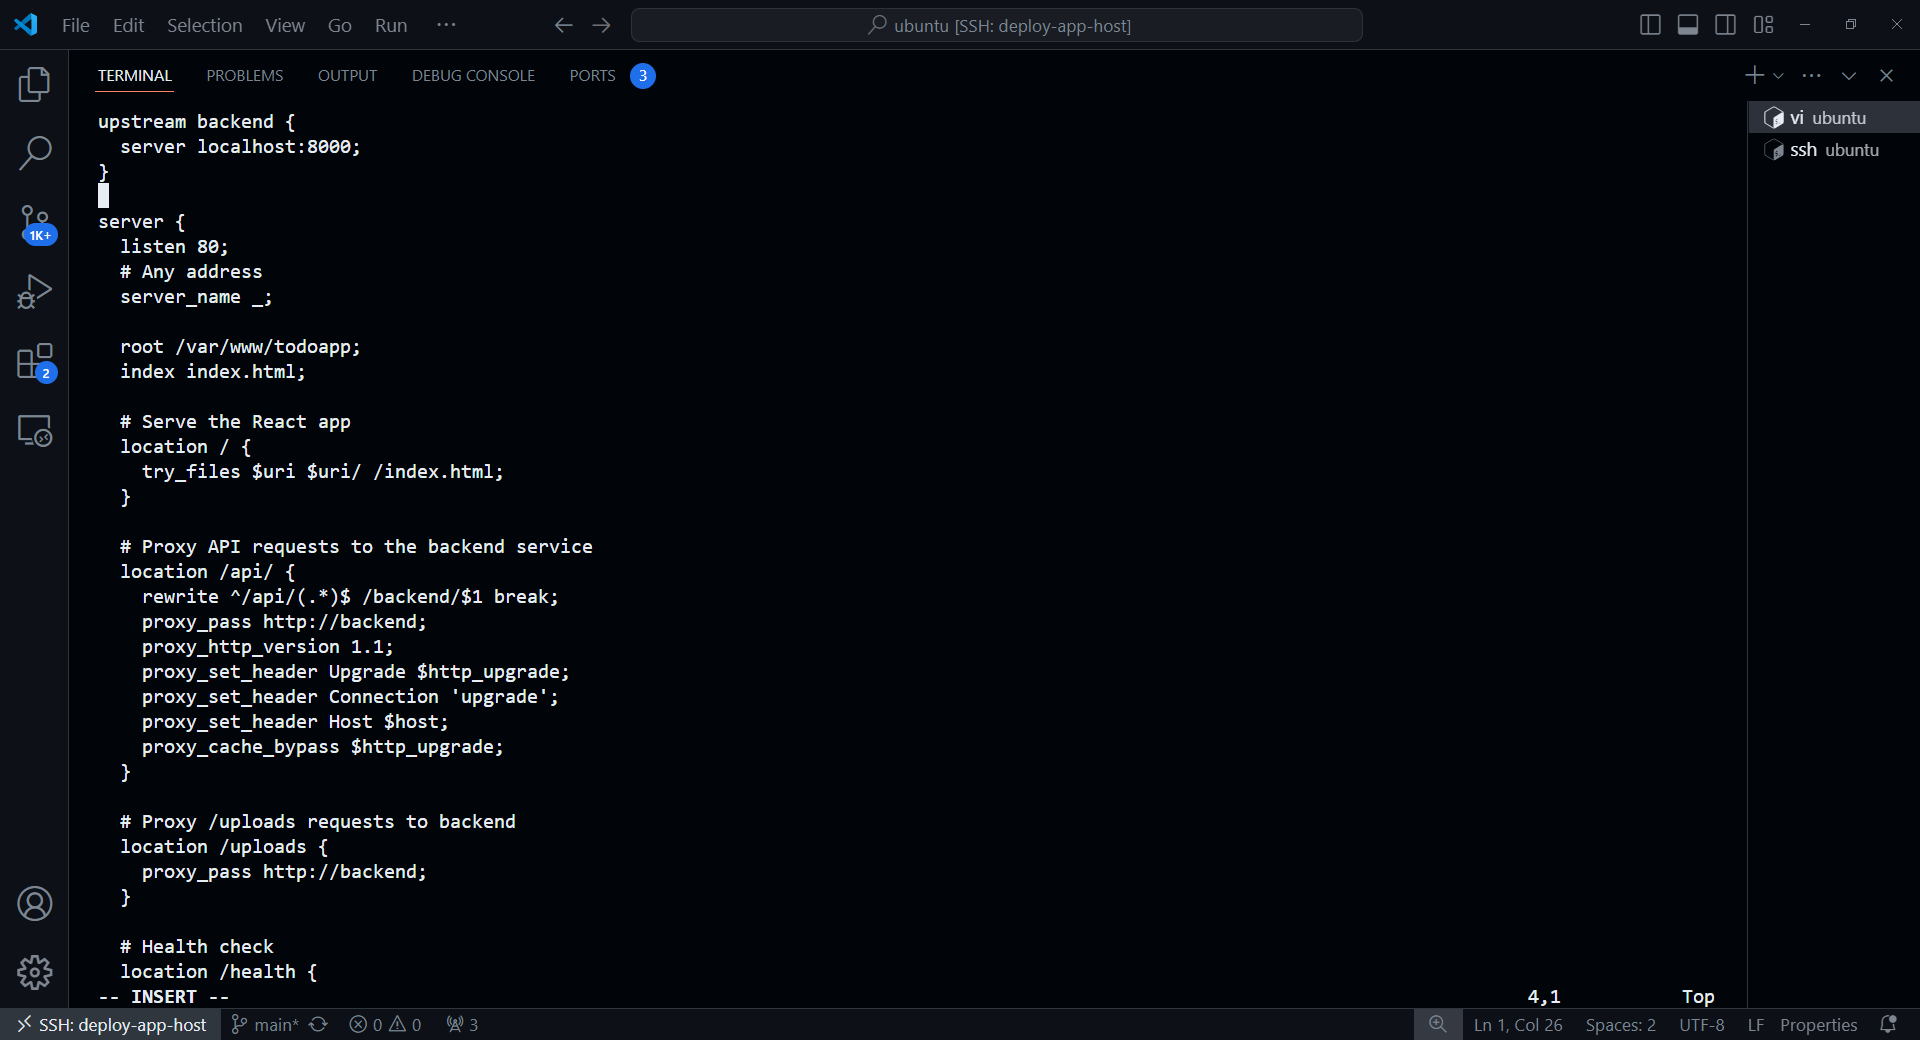
vi defaultVà thêm cấu hình bên dưới bên dưới
upstream backend {
  server localhost:8000;
}

server {
  listen 80;
  # Any address
  server_name _;

  root /var/www/todoapp;
  index index.html;

  # Serve the React app
  location / {
    try_files $uri $uri/ /index.html;
  }

  # Proxy API requests to the backend service
  location /api/ {
    rewrite ^/api/(.*)$ /$1 break;
    proxy_pass http://backend;
    proxy_http_version 1.1;
    proxy_set_header Upgrade $http_upgrade;
    proxy_set_header Connection 'upgrade';
    proxy_set_header Host $host;
    proxy_cache_bypass $http_upgrade;
  }

  # Health check
  location /health {
    return 200 'Healthy';
    add_header Content-Type text/plain;
  }
}
Lưu lại và sau đó là copy file default này sang thư mục /etc/nginx/sites-enabled
sudo cp default /etc/nginx/sites-enabled/defaultVà kiểm tra xem các file config đã hợp lệ hay chưa
sudo nginx -t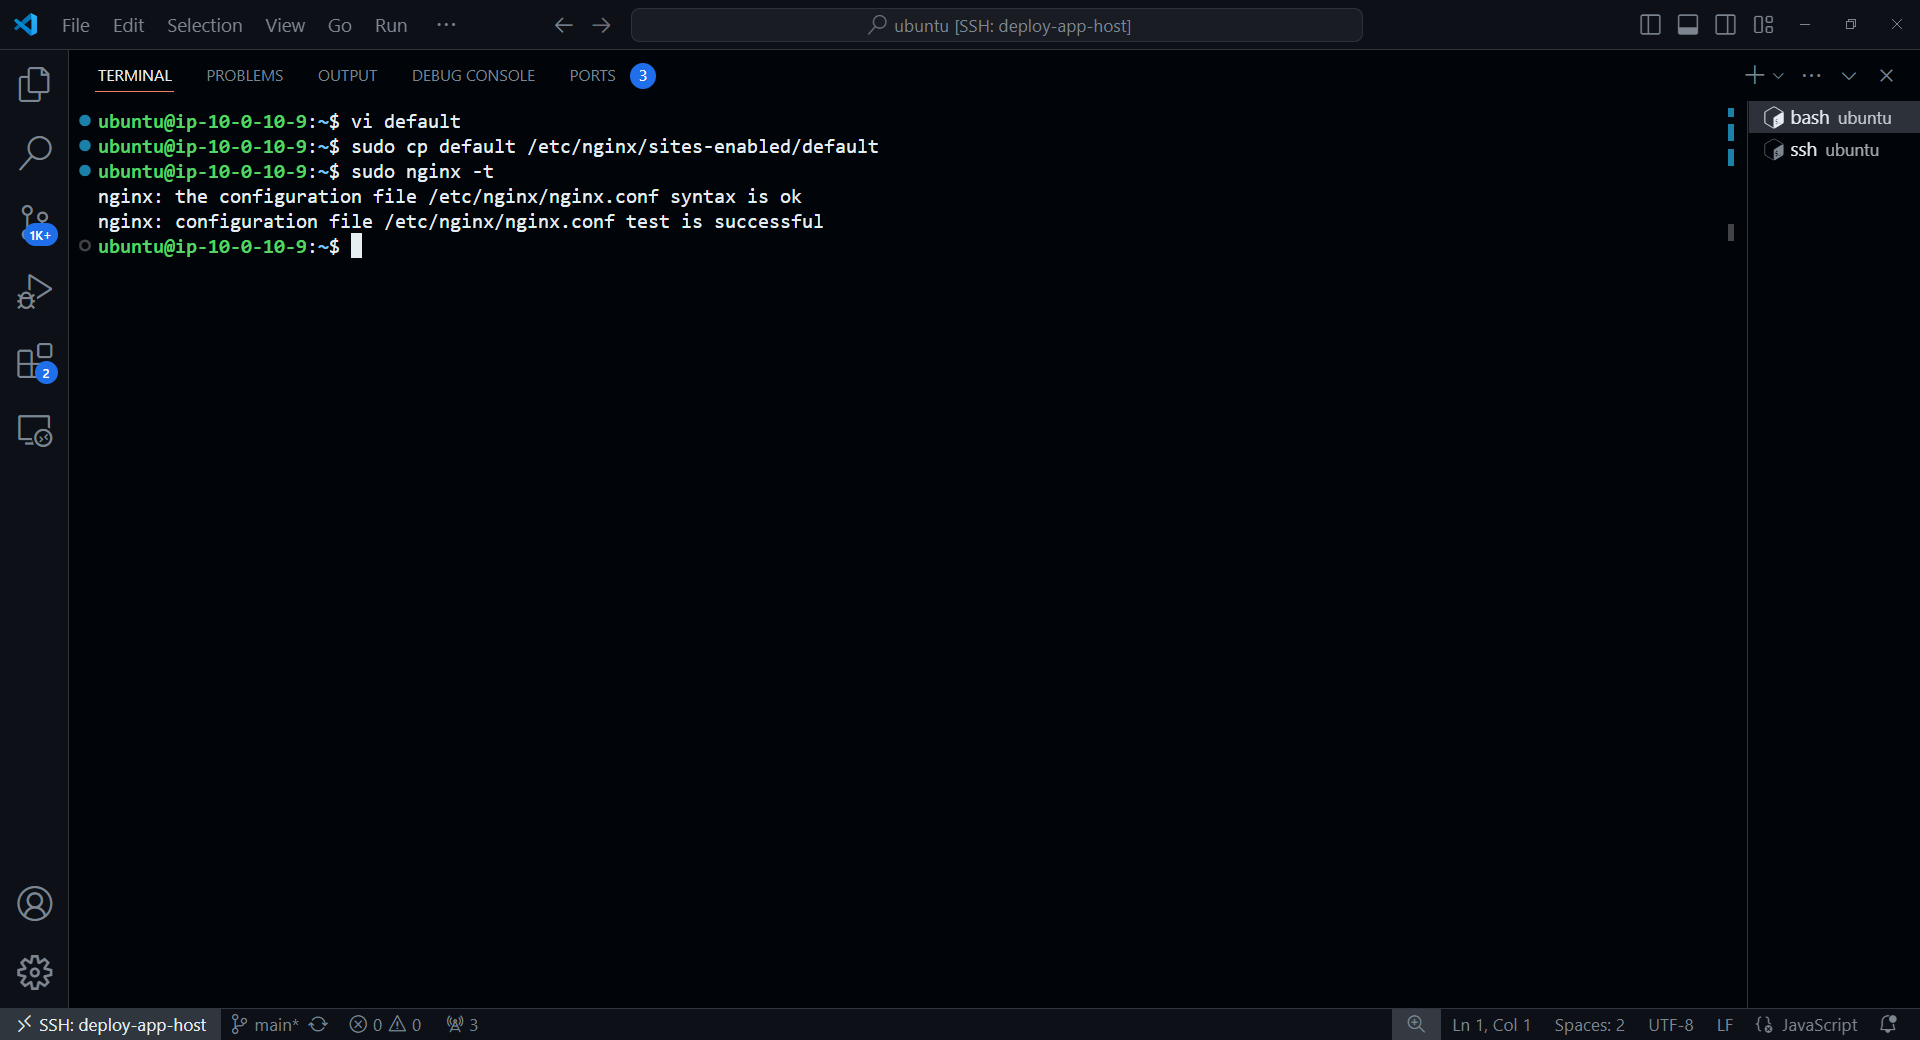
Lần lượt khởi động lại Nginx service và kiểm tra lại trạng thái của Nginx
sudo systemctl restart nginx
sudo systemctl status nginx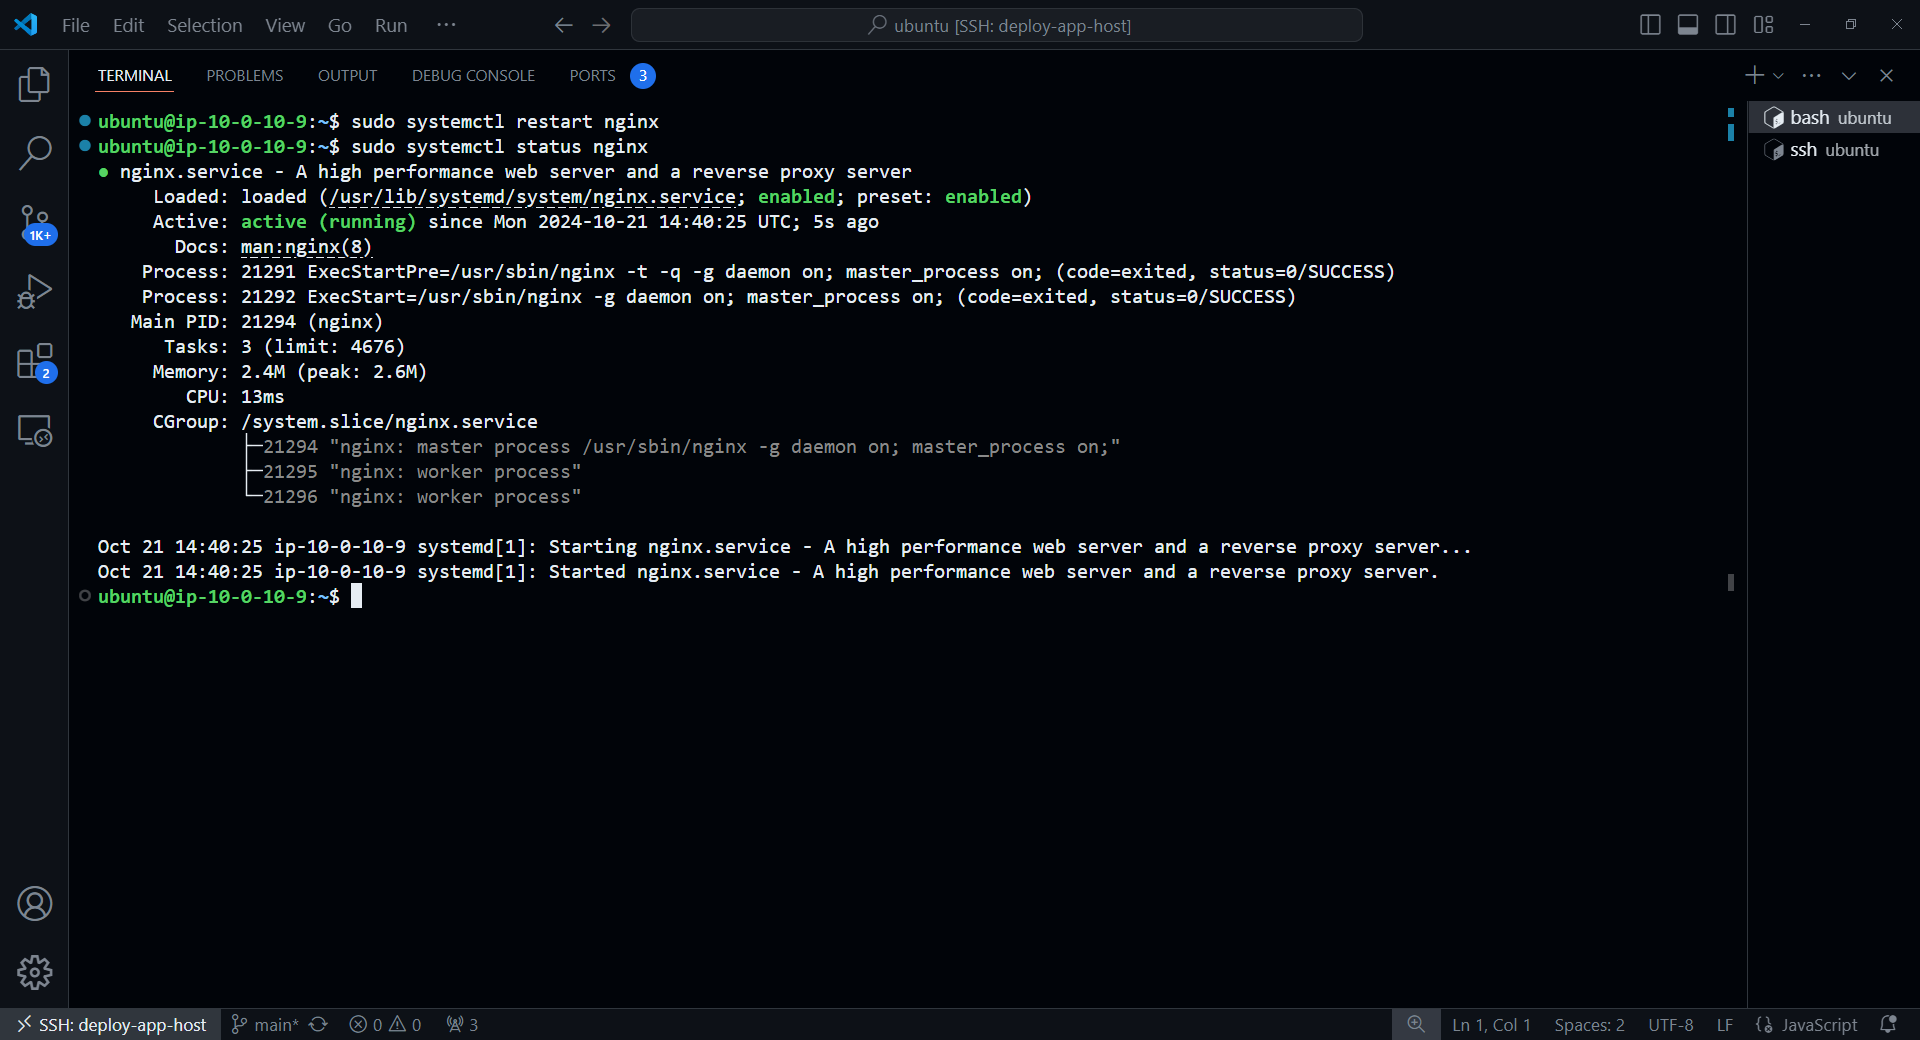
Ok, vậy là Nginx vẫn hoạt động bình thường, và để xem là ứng dụng của chúng ta có thật sự hoạt động hay không thì vào kiểm tra với Public DNS của deploy-app-host.